
Lighting controls: environment, key, fill and rim lights
In short: the Lighting tab gives you a full photo-studio rig. An environment wraps the model in soft light and reflections. The key, fill and rim lights shape it. Ambient light lifts the shadows, the ground shadow sits the model on the floor, and exposure and tone mapping set the overall brightness and colour response. Every change shows instantly in the viewport.
Open the Lighting tab at the top of the right-hand inspector. It's the first tab, so it's open when the studio loads:
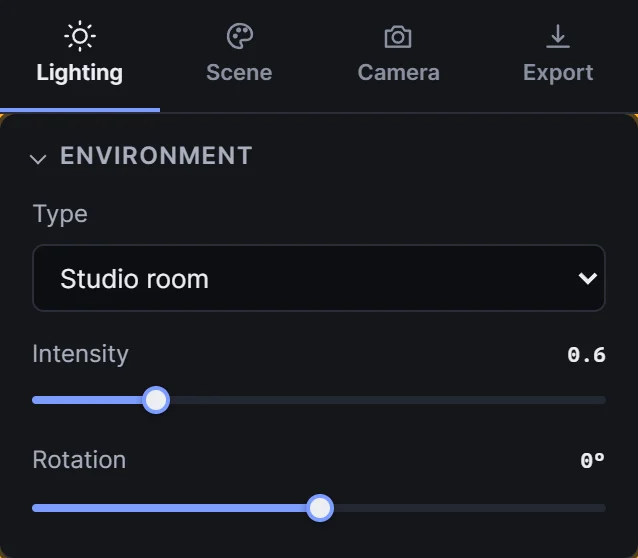 The Lighting tab
Tip: the quickest way to great lighting is to start from a look preset and then adjust it here.
Environment
The environment is image-based light that surrounds your model. It creates soft, even lighting and the reflections you see in shiny surfaces.
| Setting | What it does |
|---|---|
| Type | Studio room (a neutral photo studio), Softboxes (large rectangular studio lights, crisp product highlights), Sky dome (an outdoor sky and ground) or None (lights only) |
| Intensity | How bright the environment light is (0 to 3) |
| Rotation | Turns the environment around the model, which moves reflections and highlights (−180° to 180°) |
| Softbox tint / Sky / Ground | Colours for the Softboxes and Sky dome types |
Here's the Sky dome environment, which gives a softer, outdoor feel:
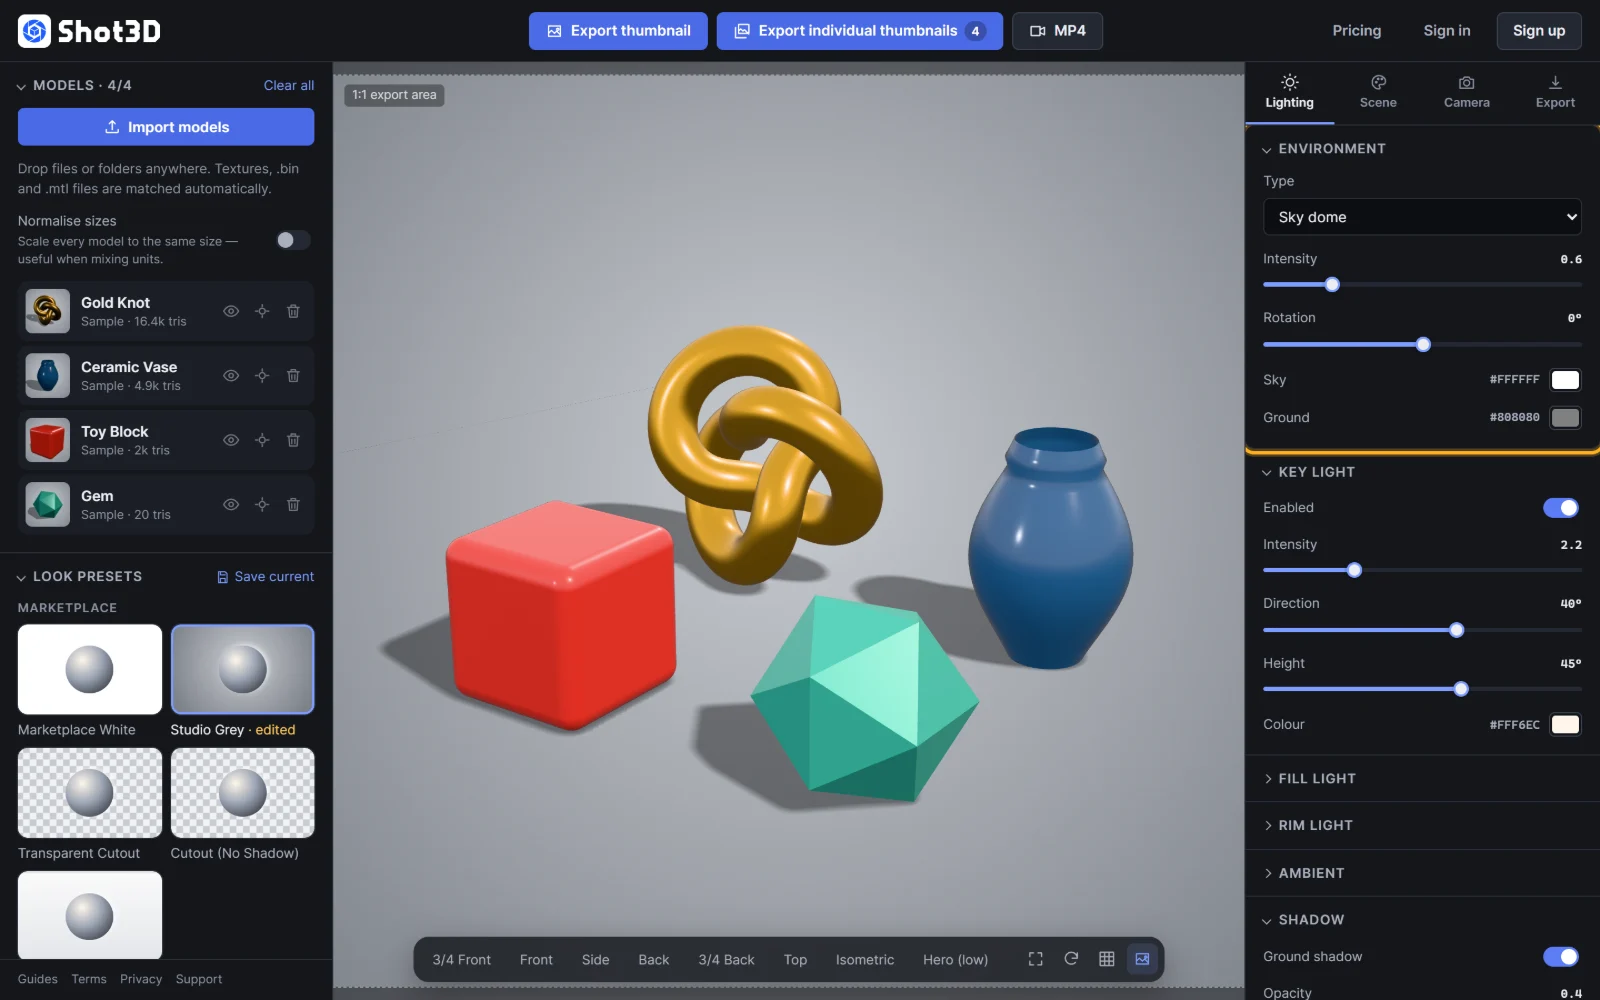 Sky dome environment
Tip: drag the Rotation slider slowly while watching a shiny model. You'll see the reflections move, and you can pick the angle that shows the surface off best.
Key, fill and rim lights
These three directional lights are the classic photography three-point setup:
- Key light: the main light, which defines the model's shape and casts the shadow.
- Fill light: a softer light from the other side that lifts dark areas.
- Rim light: a light from behind that draws a bright edge around the model, separating it from the background.
Each has the same controls:
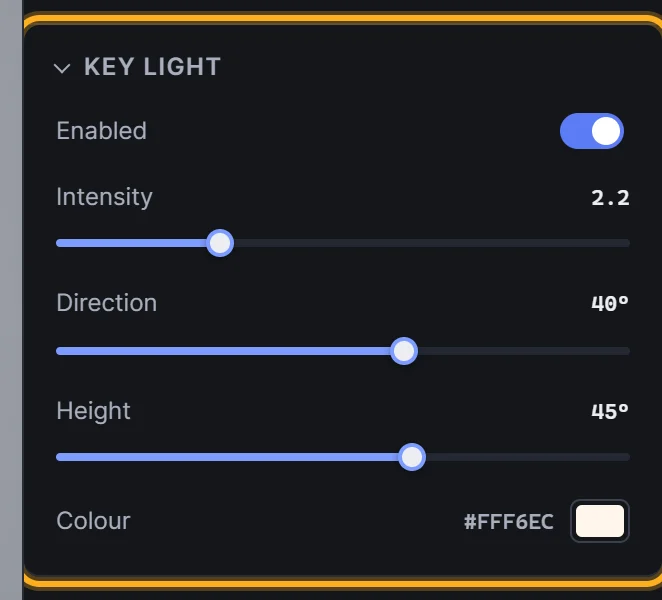 Key light settings
| Setting | What it does |
|---|---|
| Enabled | Switches the light on or off |
| Intensity | Brightness (0 to 8) |
| Direction | Where the light comes from, around the model (−180° to 180°) |
| Height | How high the light is, from slightly below (−30°) to directly overhead (90°) |
| Colour | The light's colour. Warm or cool tints set the mood |
The Fill and Rim sections are collapsed to start with. Click their titles to open them. Here the rim light has been turned up to show its effect, a bright outline on every model's edge:
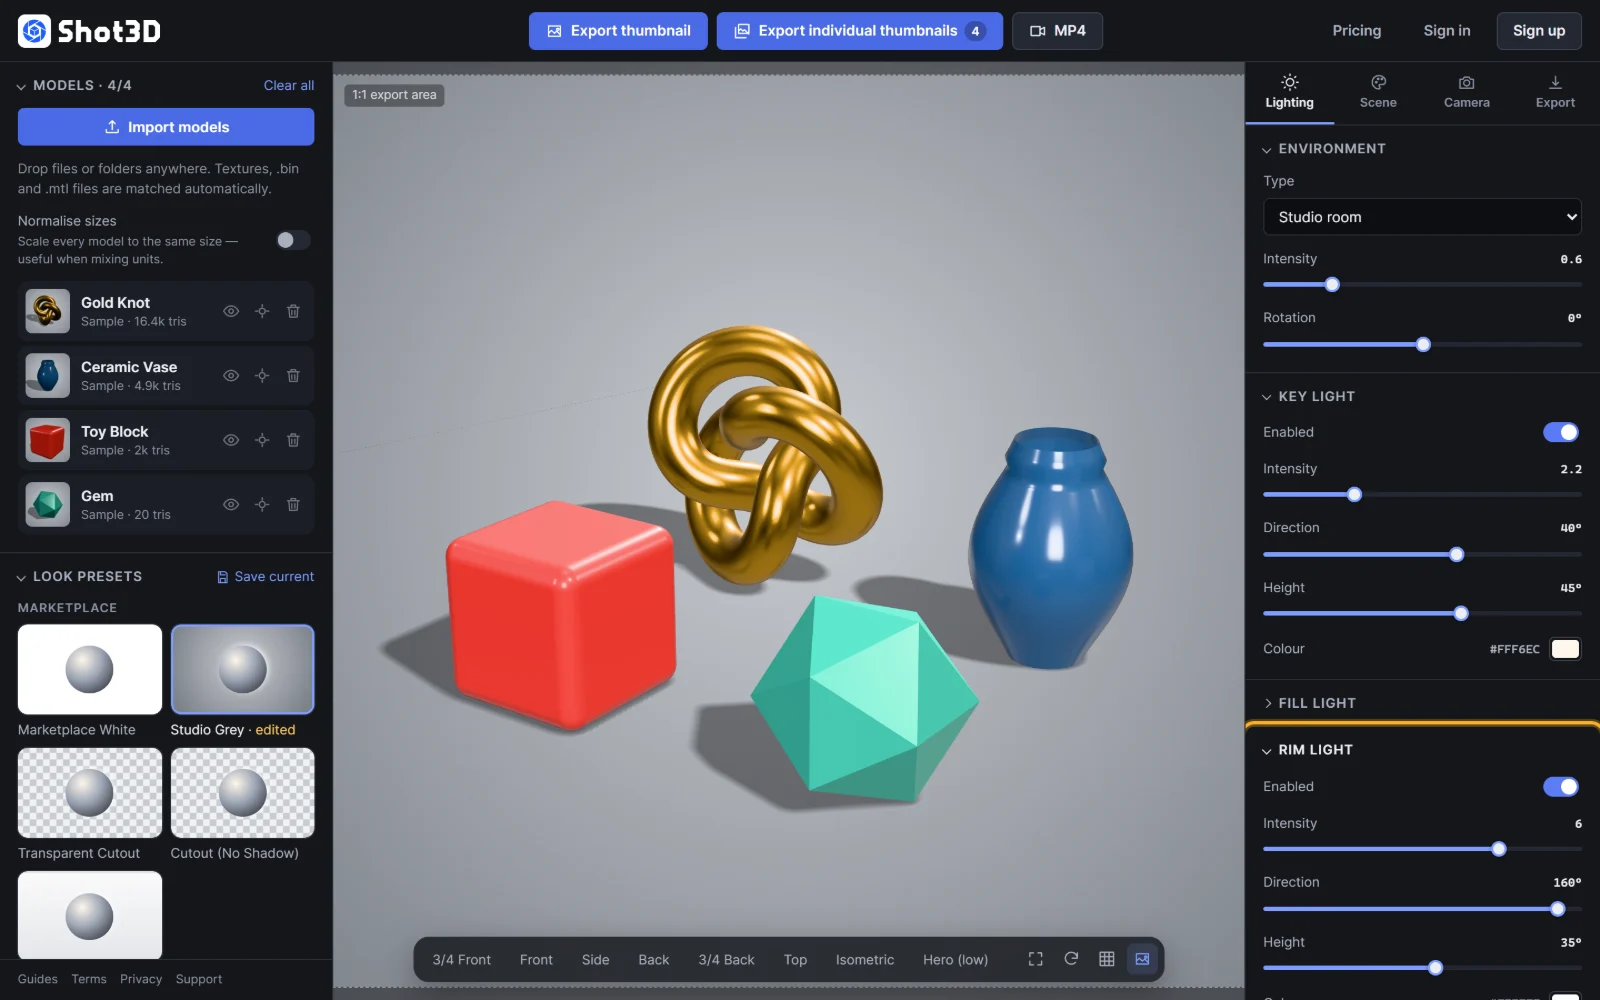 A strong rim light
Ambient
Ambient (collapsed to start with) adds soft, directionless light from above and below. Raise its Intensity to brighten the darkest shadows, and set the Sky colour and Ground colour to tint light from above and from the floor.
Shadow
The ground shadow makes models look like they're sitting on a surface rather than floating:
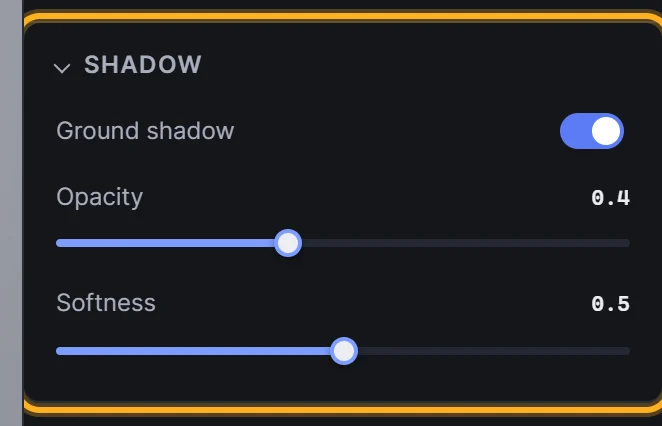 Ground shadow settings
- Ground shadow turns it on or off.
- Opacity sets how dark it is.
- Softness blurs its edges, from crisp to very soft.
The shadow is also kept in transparent PNG exports, so cut-outs still look grounded when you place them on other backgrounds.
Exposure and response
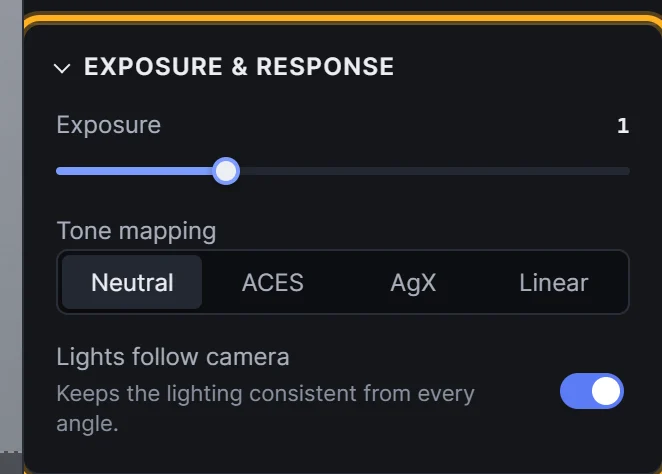 Exposure, tone mapping and Lights follow camera
- Exposure brightens or darkens the whole image, like a camera's exposure (0.2 to 3).
- Tone mapping controls how bright highlights are handled:
- Neutral (Khronos PBR Neutral): the most colour-accurate. Best for product thumbnails.
- ACES: filmic, punchy contrast. Great for dramatic shots, but shifts saturated colours.
- AgX: soft, natural highlight roll-off.
- Linear: no tone mapping, for technical comparisons.
- Lights follow camera: when on, the lights move with the camera, so the model is lit the same way from every angle you choose. Turn it off to keep the lights fixed in the scene, which is useful when you want shadows to fall a particular way.
Lighting recipes
| Look | How |
|---|---|
| Bright, clean product | Softboxes environment, key intensity around 2, fill on, soft shadow, Neutral tone mapping |
| Dark model on a dark background | Raise the rim light intensity and lift ambient slightly so the silhouette stays readable |
| Dramatic hero | Environment intensity low, strong key from the side (Direction around 70°), bright cool-coloured rim, ACES tone mapping |
| Warm and cosy | Warm key colour (orange-yellow), cool fill, Sky dome with a warm ground |
Frequently asked questions
Why do my colours look different from my textures?
Check the tone mapping. Neutral keeps colours closest to your textures. ACES and AgX deliberately change contrast and saturation.
How do I get rid of the shadow?
Open the Shadow section and switch off Ground shadow.
My model looks flat. What should I change?
Make sure the key light isn't coming from straight in front: set its Direction to around 30° to 50° and its Height to around 40°. Then turn on the rim light to add edge definition.