
Image to lithophane maker: photo to STL, flat or curved
Turn a photo into a lithophane STL in your browser: flat or curved, with a frame, your own thicknesses and a backlit preview. Free, no upload, no sign-up.
Loading the tool…
Free · no sign-up · runs in your browser · files stay on your device
In short: drop a photo above. The tool turns it into a 3D-printable lithophane: a thin panel, thicker where the photo is dark and thinner where it's light, so the picture appears when a light shines through it. Choose the size, thicknesses, frame and shape, then download the STL. It's all done in your browser.
How to make a lithophane
- Add a photo (JPEG, PNG or WebP), or click Try it with an example.
- Set the width. The height follows the photo's proportions.
- Set the thicknesses. The thinnest parts are the brightest when lit; the thickest are the darkest. 0.8 mm and 3 mm are common starting points.
- Choose a frame and shape. A frame makes the edge stronger. A curve lets the lithophane stand on its own and spreads the light from a lamp behind it.
- Pick the detail level, check the 3D preview and the lit preview, then Download the STL.
Choosing a good photo
- Strong contrast and simple shapes work best: portraits with even light, landscapes with a clear horizon, pets against a plain background.
- Avoid very dark photos. Everything thick blocks the light, so the picture looks flat. Brighten the photo first if needed.
- Crop first. The whole image becomes the panel, so crop to what matters.
Printing tips
- Print standing up, with the picture facing you, so the detail is in the layers' finest direction (X and Y).
- White or natural PLA shows the picture best. Colours tint the light.
- 100% infill, so light passes evenly through every part. Most slicers let you set this for one model.
- Layer height 0.1–0.12 mm gives smoother tones. The Standard detail level (0.2 mm between points) suits a 0.4 mm nozzle.
What it can't do
- Colour. Lithophanes show brightness only; colours become shades of grey.
- An exact preview. The lit preview estimates how light passes through the plastic. The real result depends on your filament's colour and opacity, your layer height and the light behind it.
- Lamp shades and full cylinders. The tool makes flat and curved panels up to a half cylinder (180°).
Example
The example mountain landscape as a 100 mm curved lithophane, with the backlit preview:
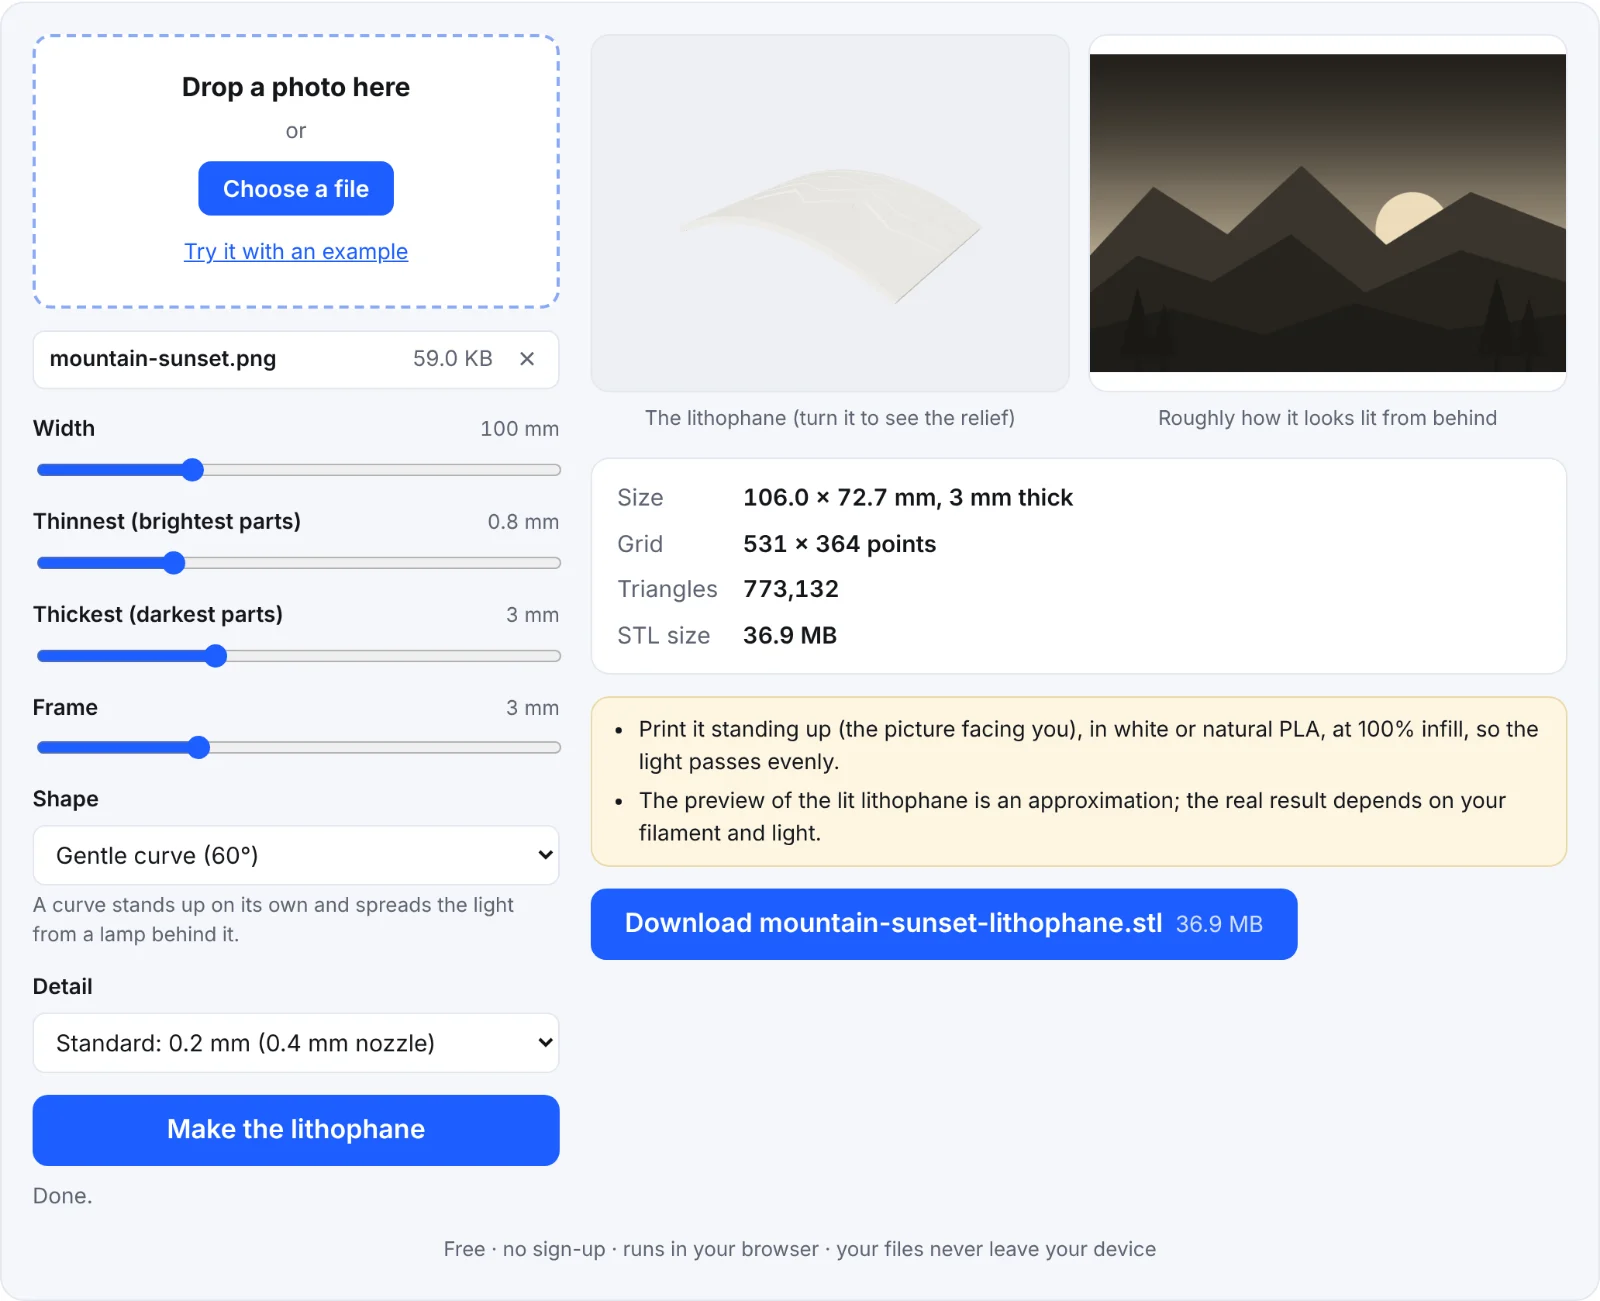 The example landscape as a lithophane
Frequently asked questions
Is my photo uploaded?
No. The photo is read and the STL built in your browser, on your device. Nothing is sent to Shot3D.
Why do I see nothing when it's not lit?
That's how lithophanes work. Against a light, the thin areas glow and the thick areas stay dark, and the picture appears.
Which thicknesses should I use?
Start with 0.8 mm (thinnest) and 3 mm (thickest). Thinner minimums make the brightest parts brighter but more fragile; thicker maximums give deeper darks but need a brighter light.
Why is the STL file so large?
A lithophane needs many small triangles to show detail. Fine detail on a large panel can make files of 50 MB or more. Use Standard unless you print with a smaller nozzle.
How is a lithophane different from a heightmap?
A lithophane is thicker where the picture is dark, and you look through it at a light. A heightmap (relief) is the opposite: bright parts stand up higher, and you look at its surface, like a carving. The image to heightmap STL tool makes those.