
Lens, field of view and framing margin
In short: in the Camera tab, the Lens section sets perspective: Telephoto (about 90 mm, flat and premium), Product (about 45 mm, natural, the default), Normal (about 29 mm) or Wide (about 19 mm, dramatic). Field of view fine-tunes it. Framing margin sets how much space surrounds your models when they're framed. Preview has auto-rotate and a ground grid that never appears in exports.
Open the Camera tab and find the Lens section:
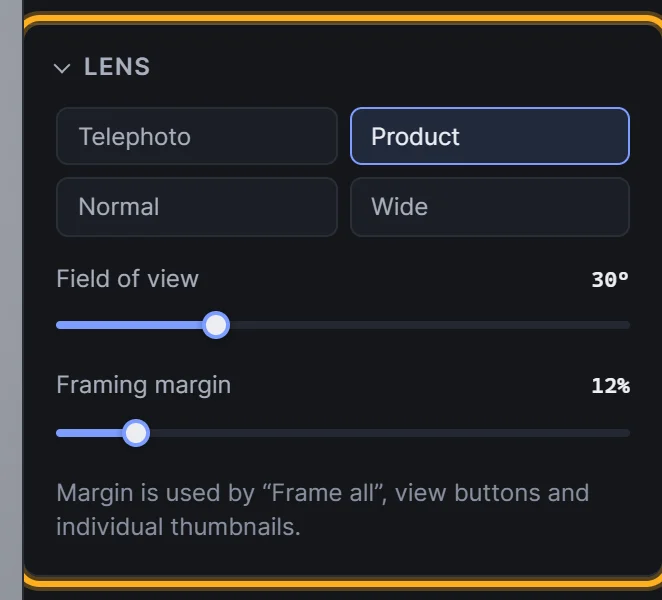 The Lens section
Choose a lens
Lens choice changes perspective: how much nearer parts of the model are exaggerated compared with further parts. After choosing a lens, press F (or an angle button) to re-frame, and the camera moves closer or further away so your models fit the export area again.
| Lens | Equivalent | Look | Best for |
|---|---|---|---|
| Telephoto | ≈90 mm | Flat, compressed, "premium" | Jewellery, weapons, hard-surface props, product close-ups |
| Product | ≈45 mm | Natural proportions, mild perspective | Most thumbnails (the default) |
| Normal | ≈29 mm | Noticeable depth | Larger objects and scenes |
| Wide | ≈19 mm | Strong, dramatic perspective | Interiors, environments, dramatic shots |
Telephoto makes objects look solid and true to their proportions:
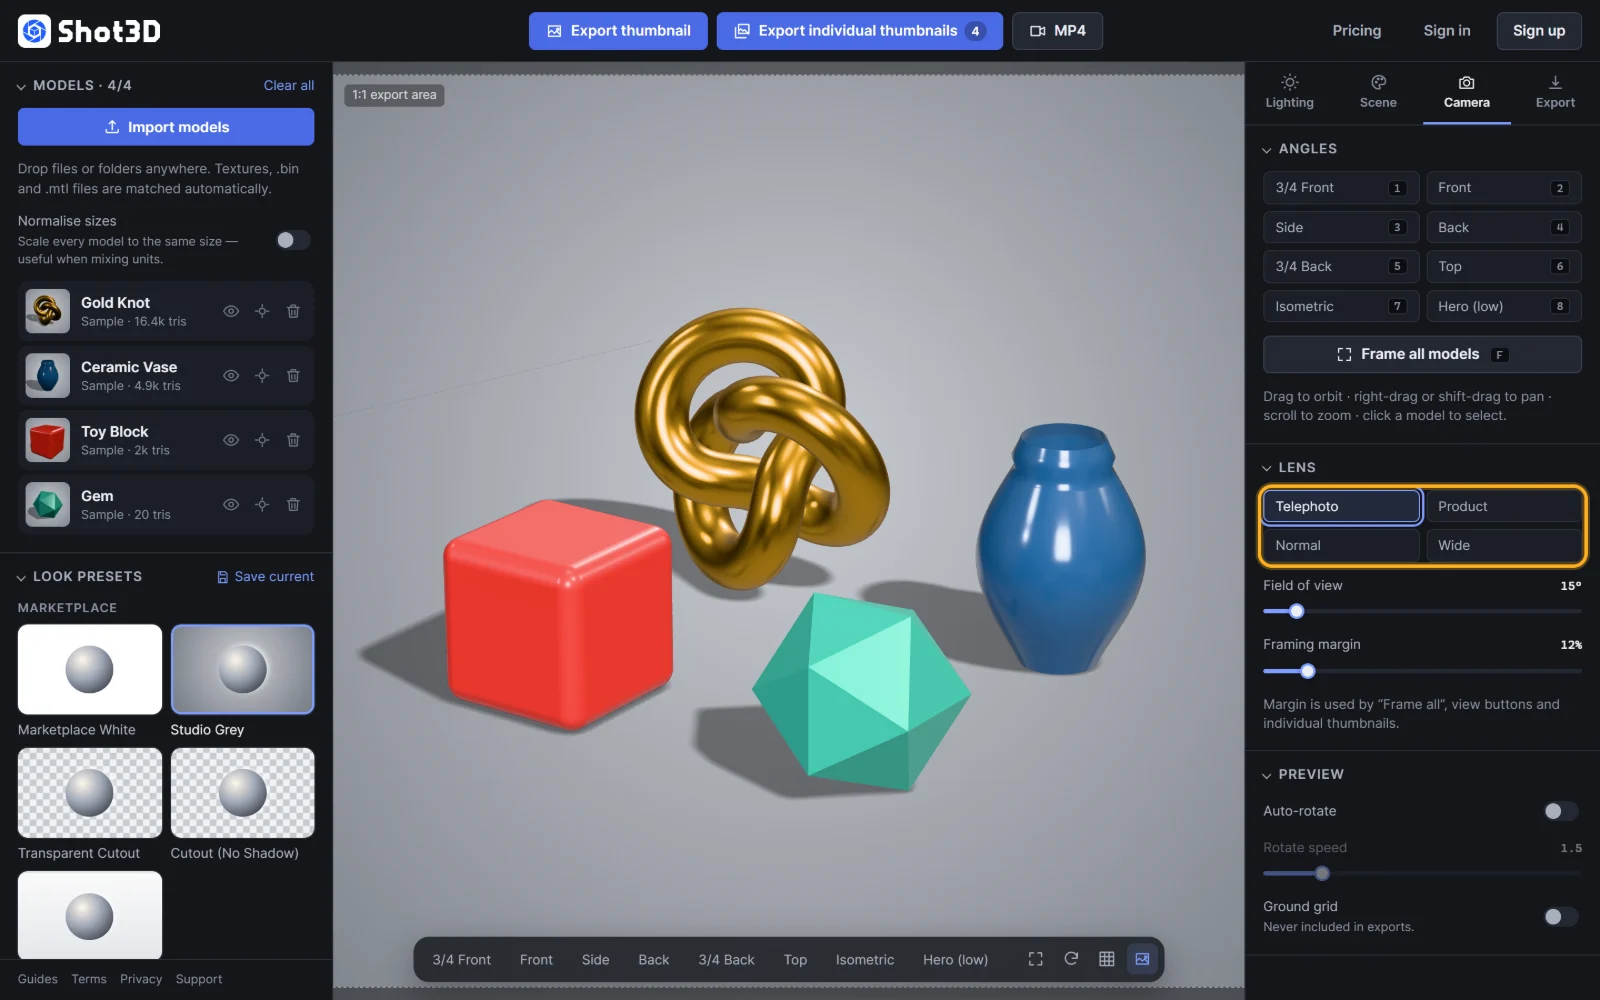 Telephoto lens
Wide exaggerates depth, which is dramatic but distorts product proportions:
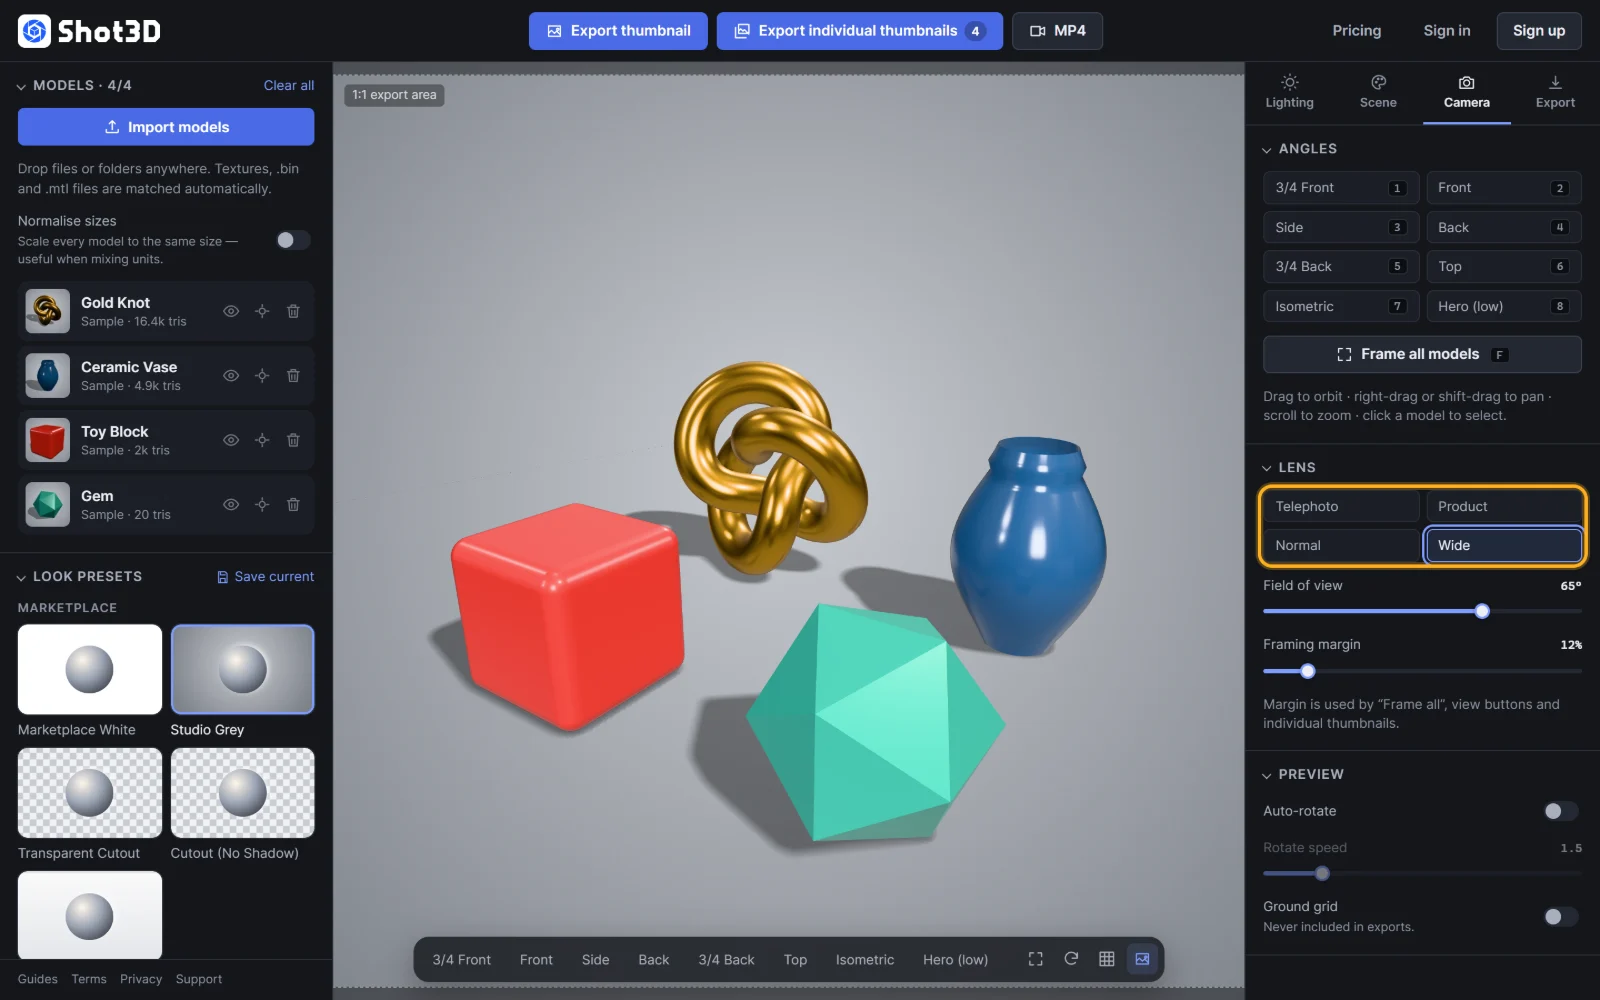 Wide lens
For any lens in between, drag the Field of view slider (8° to 90°). Lower values are more telephoto, higher values are wider.
Set the framing margin
Framing margin controls how much empty space surrounds your models whenever they're framed: by Frame all (F), the angle buttons, and every image made with Export → Individual thumbnails.
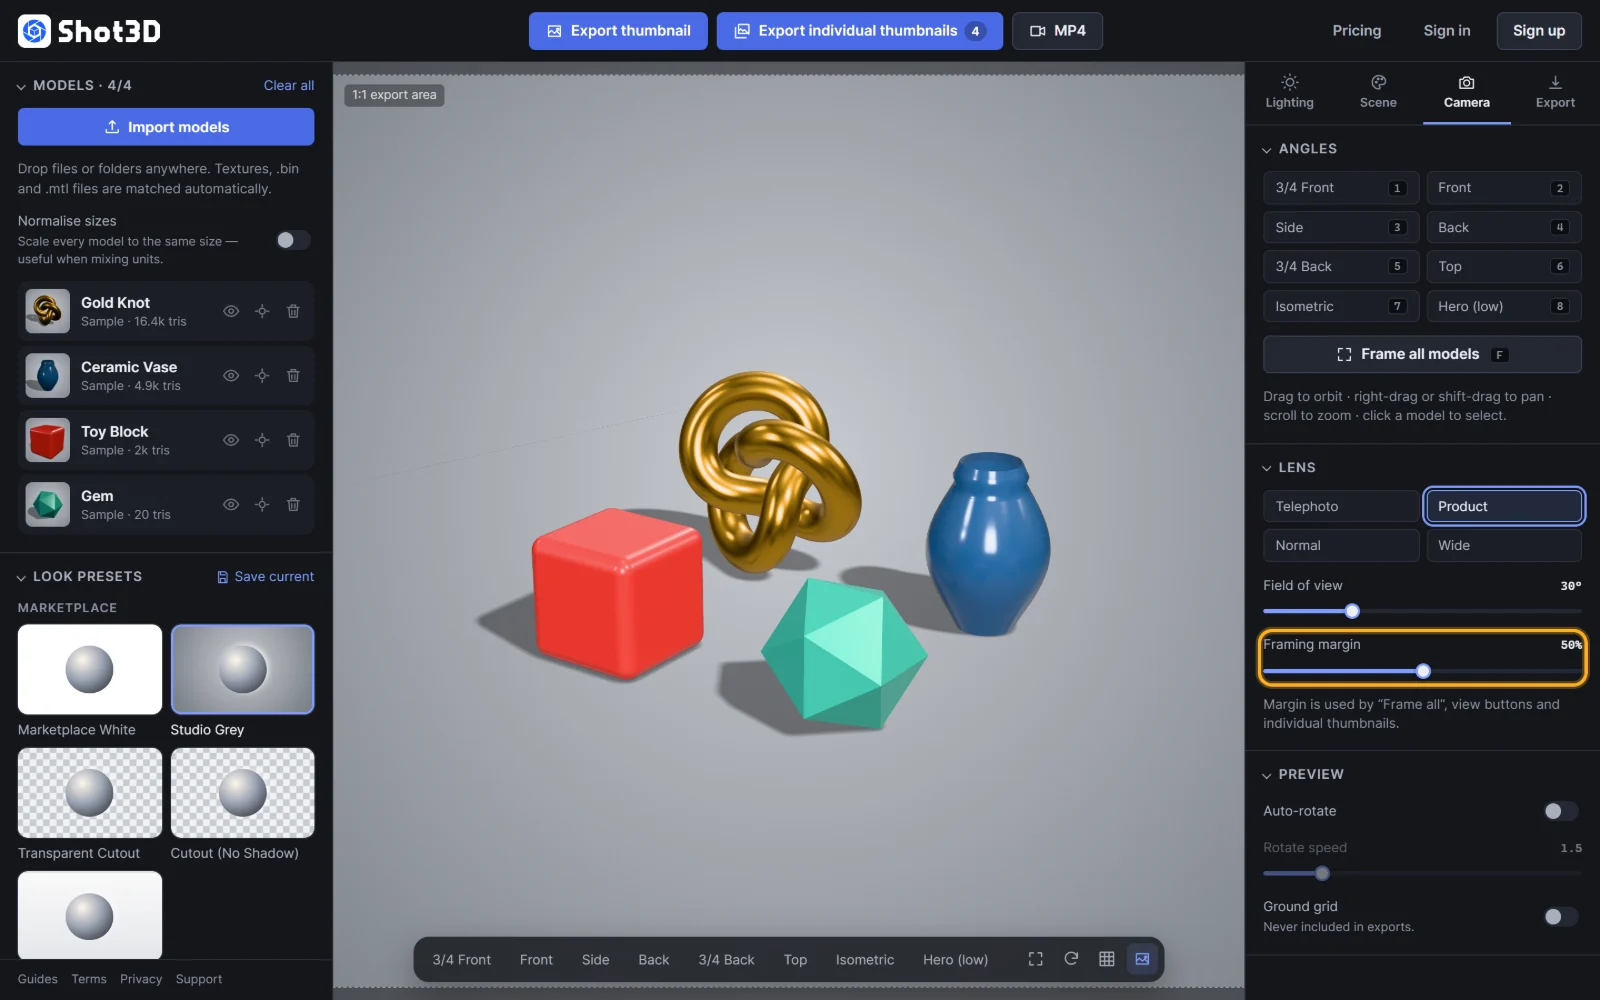 Framing margin at 50%
- Around 10–15% (the default is 12%) fills the frame while leaving a comfortable border. Good for most marketplace thumbnails.
- 25–50% leaves room for marketplace badges, text overlays or cropping.
- For turntables, add a little extra so long models don't touch the edges as they spin.
After changing the margin, press F to re-frame.
Preview options
The Preview section only affects what you see while working:
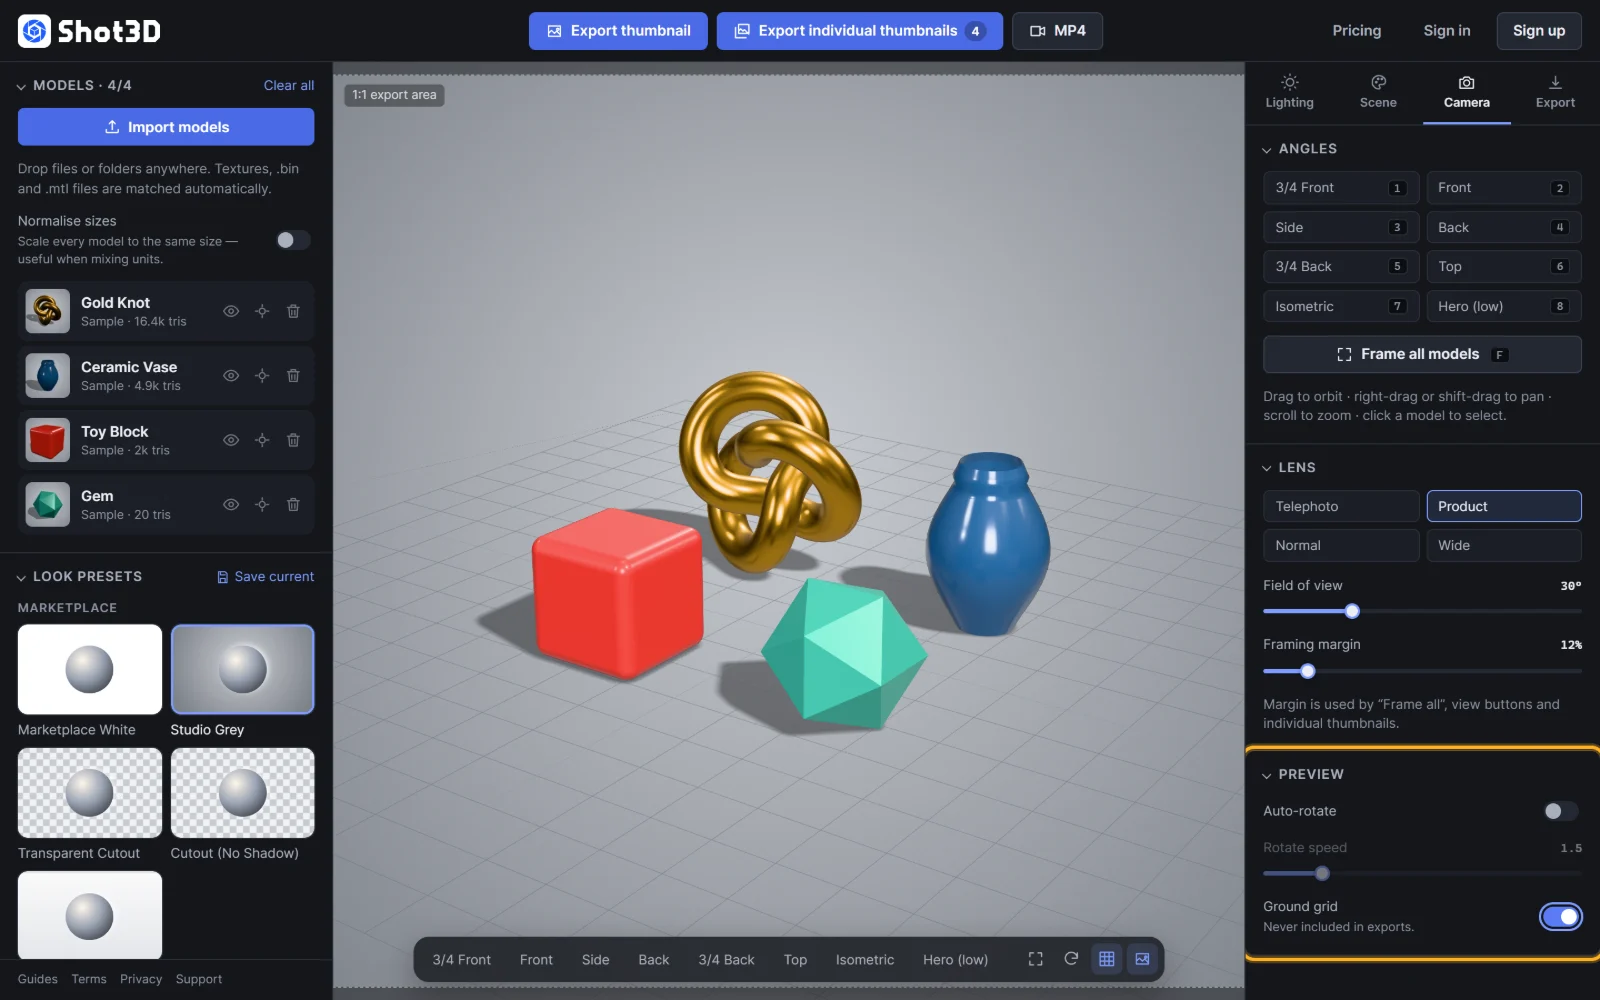 Preview: auto-rotate and ground grid
- Auto-rotate slowly spins the camera around your models so you can check them from every side. Rotate speed sets how fast. Press R to toggle it.
- Ground grid shows a grid on the floor to help you judge scale and alignment. It's never included in exports. Press G to toggle it.
Both also have buttons on the viewport toolbar.
Frequently asked questions
Which lens should I use for product thumbnails?
Product (about 45 mm) gives natural proportions and is the safe default. Use Telephoto for a flatter, more premium look.
Why are my models touching the edge of the image?
Increase the Framing margin and press F to re-frame. Also check that Show export frame is on in the Export tab, so you can see exactly what will be captured.
Will the grid show in my exports?
No. The ground grid is only a guide in the viewport and is never rendered into exports.