
Camera angles and navigating the viewport
In short: drag in the viewport to orbit, right-drag (or Shift-drag) to pan, and scroll to zoom. For consistent listing images, use the eight one-click angles on the camera toolbar (3/4 Front, Front, Side, Back, 3/4 Back, Top, Isometric and Hero), or press 1 to 8. Press F to frame your models perfectly.
Move around with the mouse
| Action | Mouse |
|---|---|
| Orbit around the models | Left-drag |
| Pan (slide the view) | Right-drag, or Shift + left-drag |
| Zoom in and out | Scroll wheel or trackpad pinch |
| Select a model | Click it |
On a touch screen, drag with one finger to orbit and pinch to zoom.
Jump to a standard angle
Free orbiting is great for exploring, but listing images look best when every model is shot from the same angle. The camera toolbar at the bottom of the viewport has eight standard angles:
 One-click camera angles
Click one and the camera glides to it, keeping your models framed. Here's Isometric, popular for game assets:
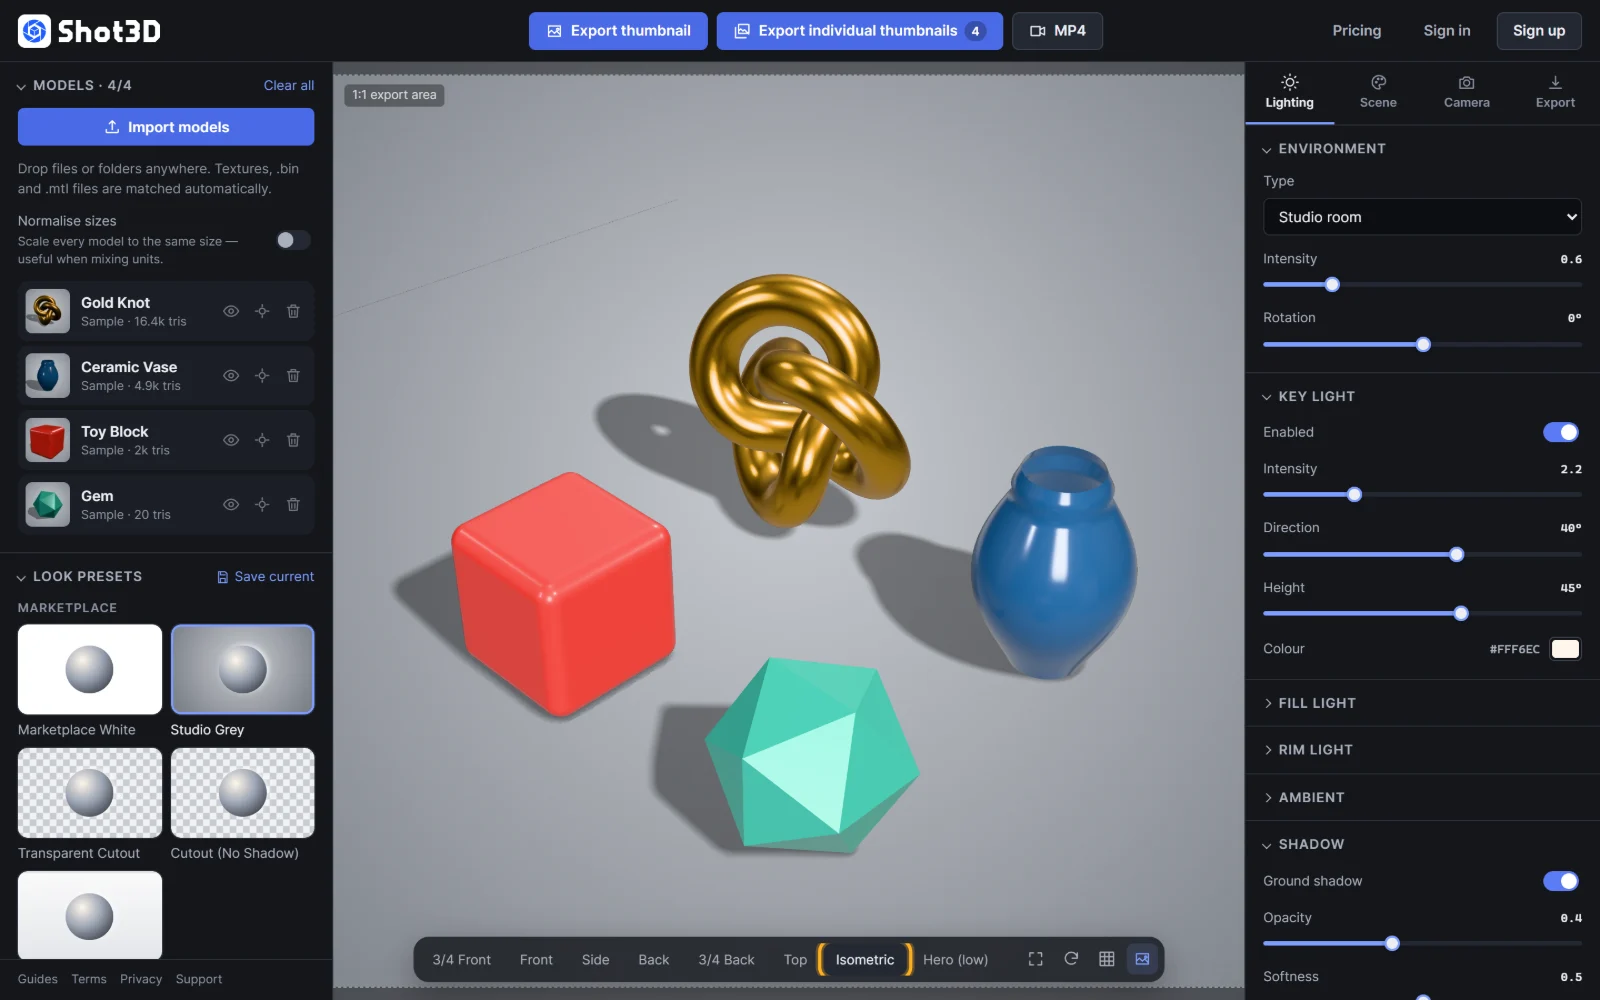 The Isometric angle
And Hero (low), a low angle that makes models look bold and imposing:
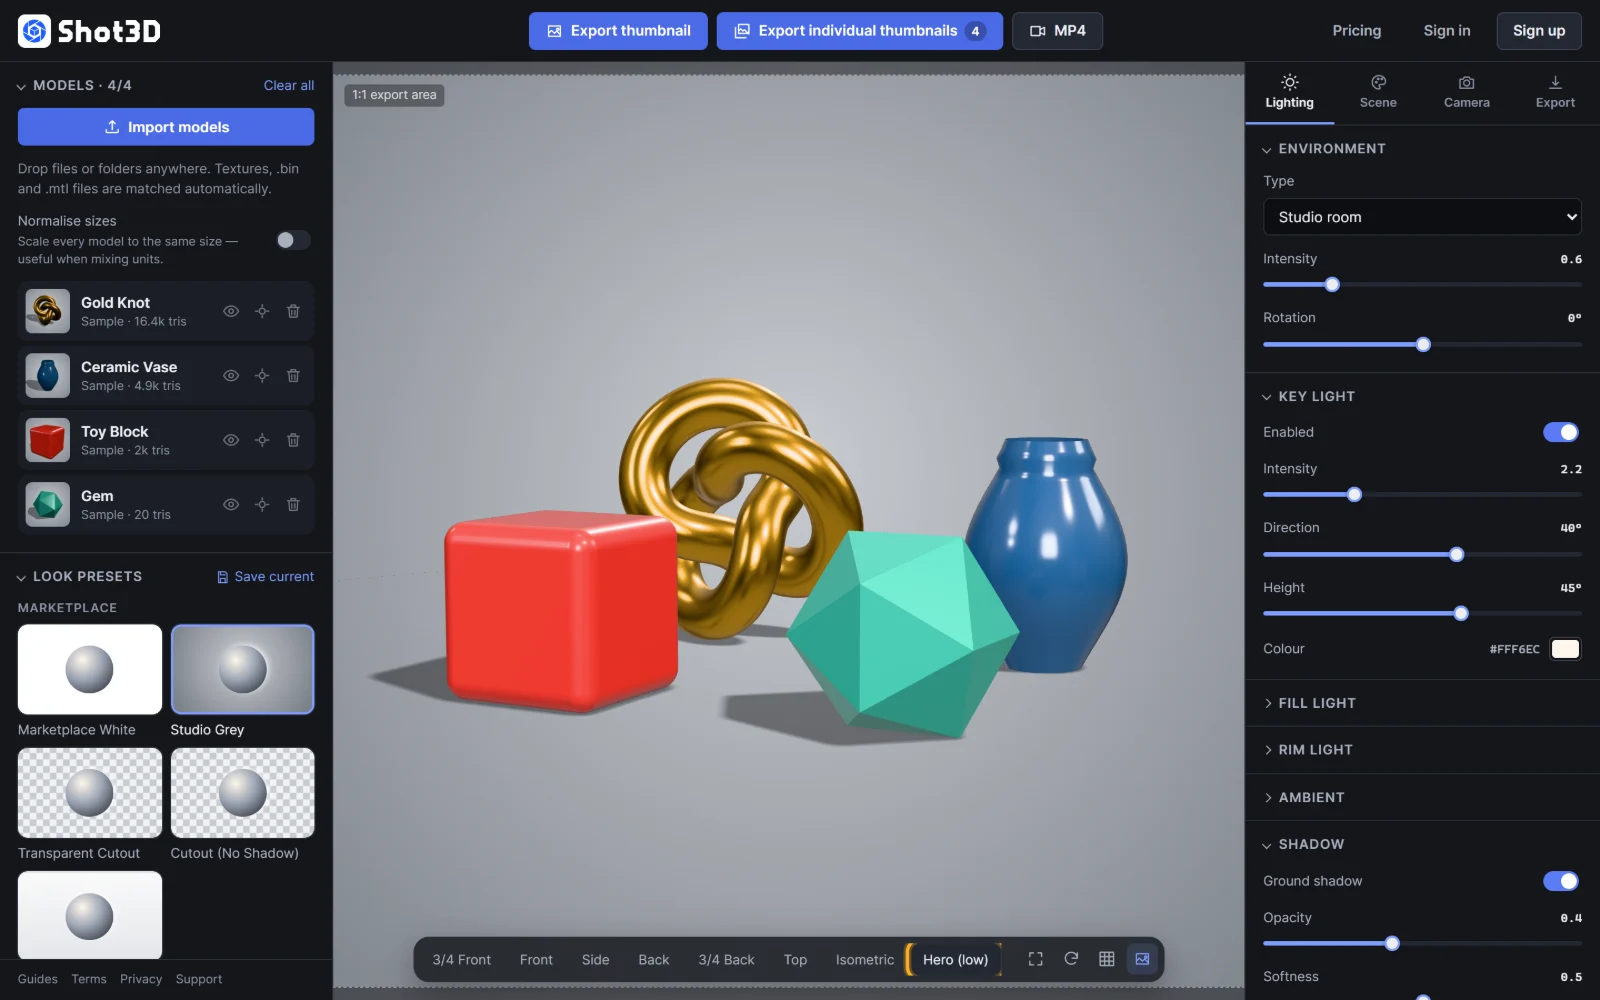 The Hero (low) angle
| Key | Angle | Use it for |
|---|---|---|
| 1 | 3/4 Front | The standard hero thumbnail: front and side together |
| 2 | Front | Characters, furniture, products with a clear front |
| 3 | Side | Profiles and vehicles |
| 4 | Back | Showing the back is finished |
| 5 | 3/4 Back | A second hero angle |
| 6 | Top | Tiles, floor items and tabletop assets |
| 7 | Isometric | Game assets, modular kits and dioramas |
| 8 | Hero (low) | Buildings, vehicles and characters |
The same angles are in the Camera tab, with their keyboard shortcuts shown:
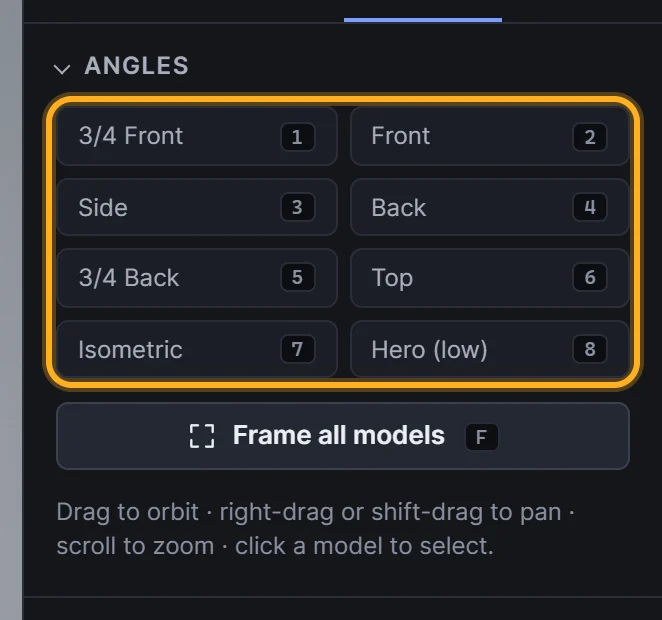 Angles in the Camera tab
Frame your models
Frame all models (or press F) moves the camera so every visible model fits neatly in the export area, from the current angle:
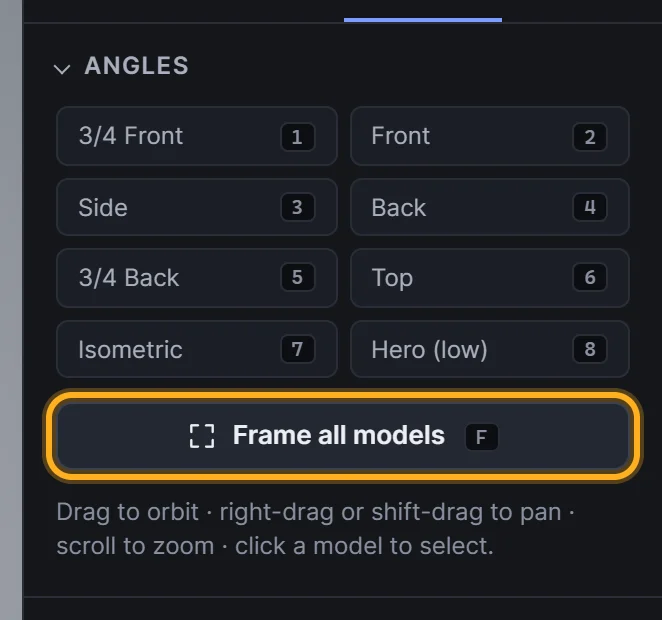 Frame all models
If a model is selected, F frames just that model instead. Press A, or click the frame button on the viewport toolbar, to frame all models whatever is selected.
How much space is left around the models is set by Framing margin. See lens and framing.
Tips
- Pick the angle first, then fine-tune. Press a number key, then nudge the camera with a small drag if needed.
- Use one angle across a set. Consistent angles make a store look professional, and individual thumbnails use the current angle for every model.
- Check the export frame. The dashed outline shows exactly what will be captured. See exporting a thumbnail.
Frequently asked questions
What's the best camera angle for a 3D model thumbnail?
The 3/4 Front angle (press 1) shows the front and side at once and is the standard hero shot for product images.
How do I reset the view?
Press a number key from 1 to 8 for a standard angle, then F to frame.
Do the angle buttons change my model?
No. They only move the camera. To turn a model itself, use Rotate 90° in the Models list. See managing models.