
Reel Studio: the complete guide to 3D model promo videos
In short: Reel Studio turns the 3D models in your studio into short promo videos for Instagram Reels, TikTok, YouTube Shorts, store pages and portfolios. Click Reel Studio at the top of the studio, pick a template, then edit any part of it: scenes, camera moves, materials, material wipes, exploded views, transitions, animated text, your brand colour, font and logo. Click Play to preview and Export MP4 to save the video. Everything is rendered and encoded on your device, so your models are never uploaded. Free videos go up to 720p with a Shot3D watermark across the middle; Pro goes up to 1080p and Studio up to 4K, with no watermark.
This guide covers every option in Reel Studio, in the order you'll meet them. Short on time? Read Make your first promo video in five minutes, then come back to the sections you need.
What you can make with Reel Studio
A Reel Studio video is a sequence of scenes. Each one is either a 3D shot of your models or a card (a title or end screen in your brand colour). On top of them you can add animated text and your logo. Some examples, all made from the four sample models in a few clicks:
| A material wipe from clay to finished | An exploded view | Text on a brand-colour bar |
|---|---|---|
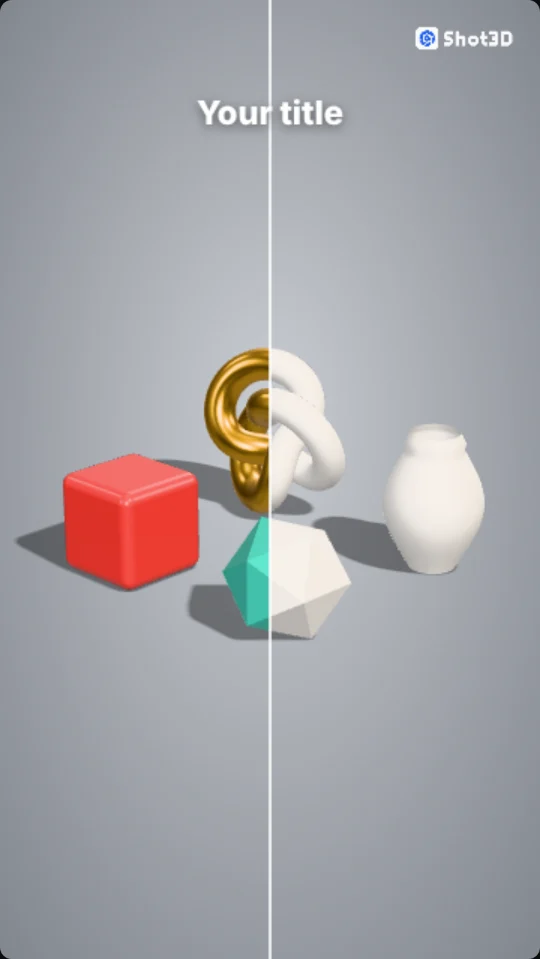 Material wipe |
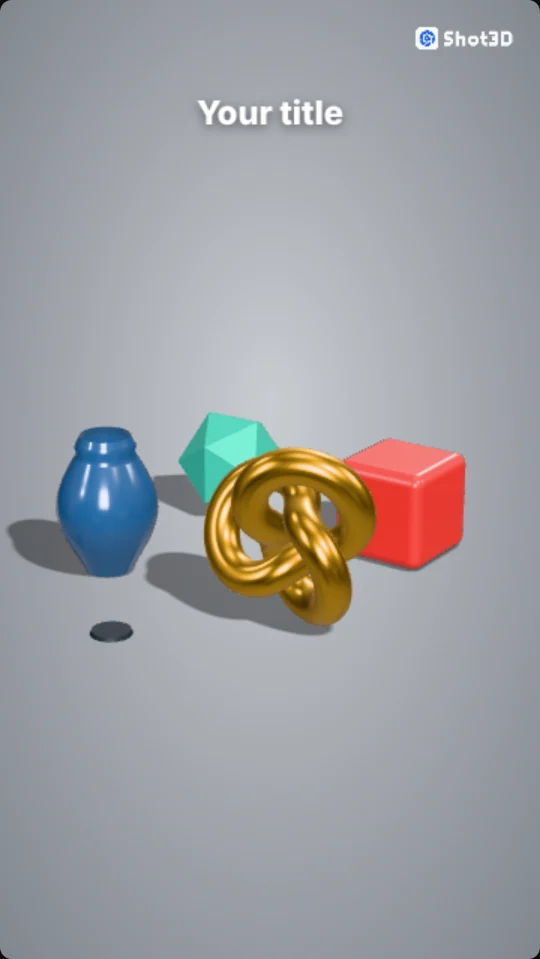 Exploded view |
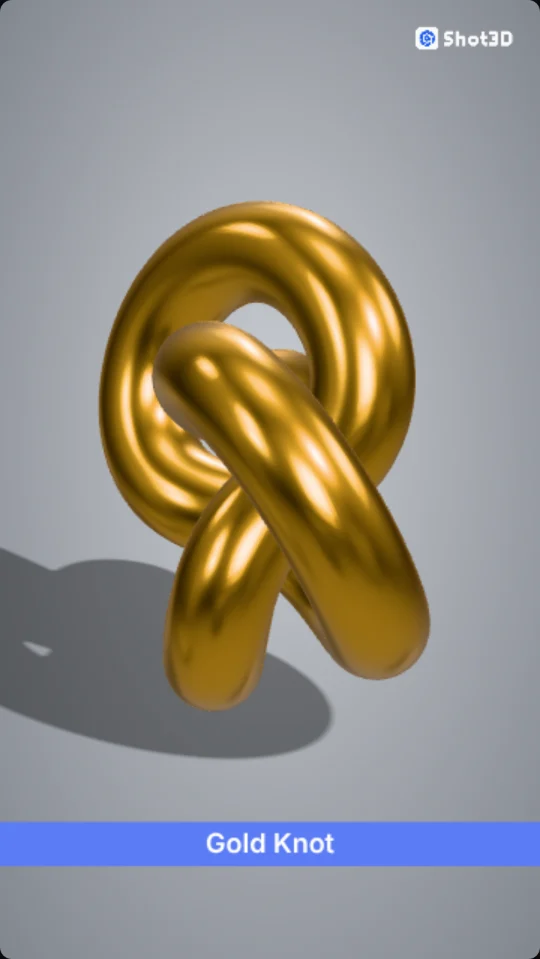 Brand-colour bar |
| A wireframe reveal | A pill caption | An end card |
|---|---|---|
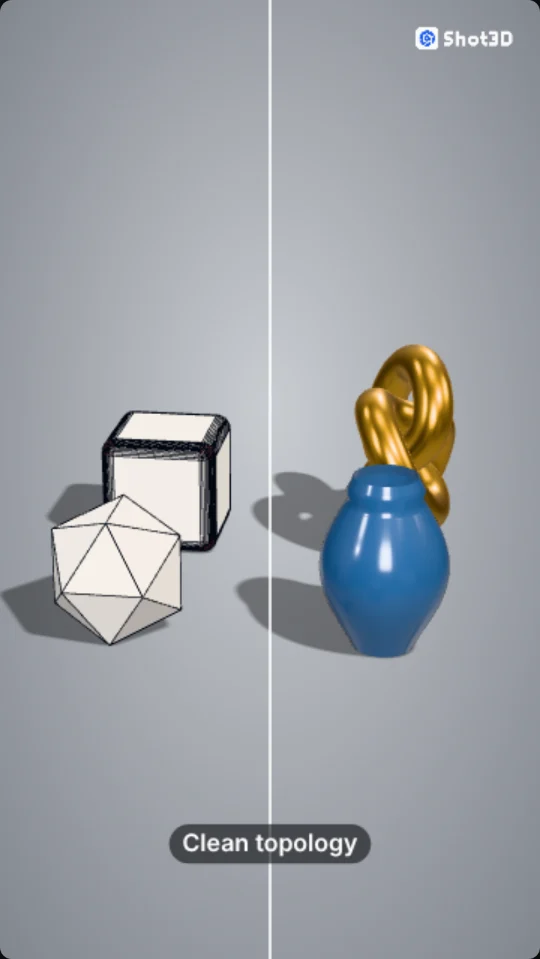 Wireframe wipe |
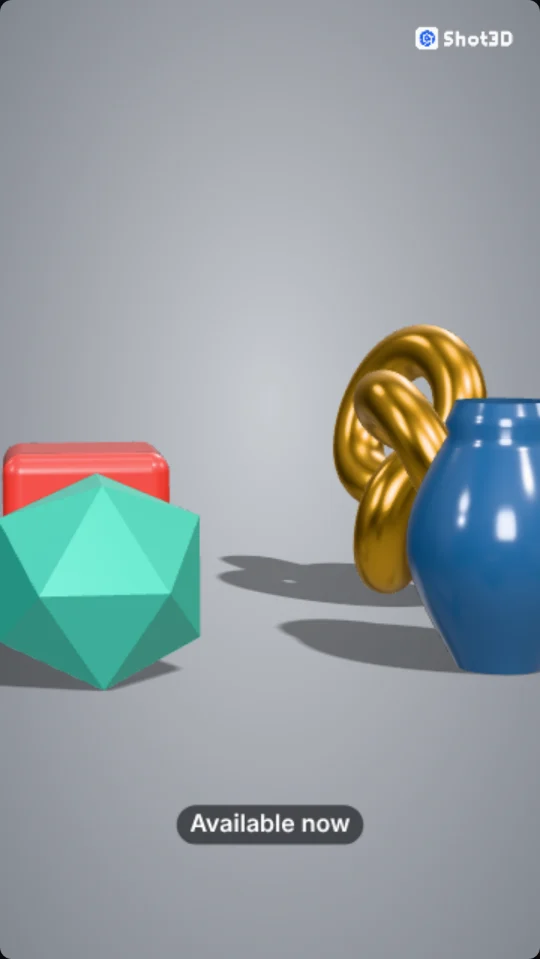 Caption in a pill |
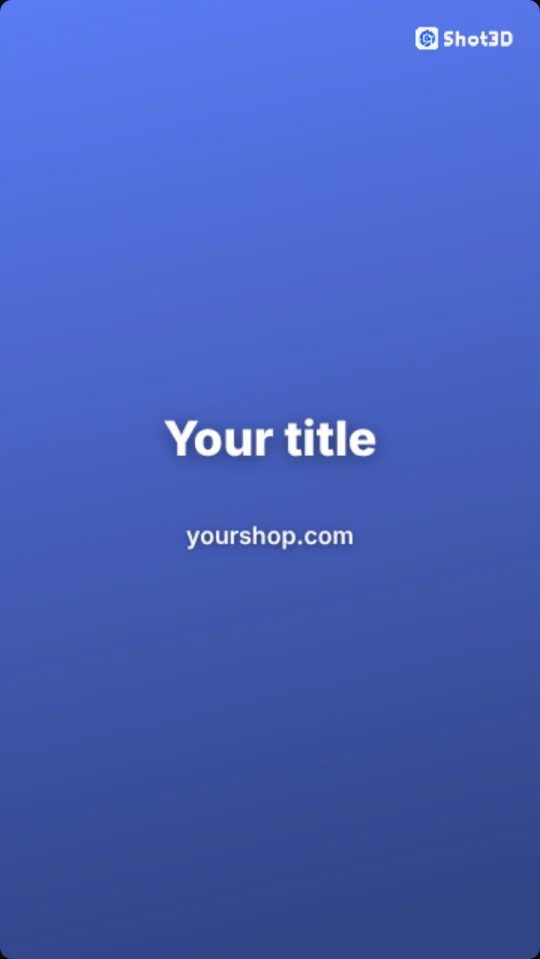 End card |
Typical uses:
- 3D product videos for Instagram Reels, TikTok and YouTube Shorts, to promote a model, a pack or a print.
- Store page videos for marketplaces that accept a preview video, in landscape 16:9.
- Portfolio clips that show form (clay), finish (original materials) and topology (wireframe) in one sequence.
- Exploded view animations that show how a model's parts fit together.
- Pack showcases that introduce every model in a pack by name, one after another.
Reel Studio is a promo video maker built for 3D models, not a general video editor. It doesn't add music or import other video clips. See Music and sound for adding music when you post.
Make your first promo video in five minutes
- Import your models and set up the look you want: presets, lighting, background and materials. Reels use the studio's look, so get one still frame right first. See Importing 3D models and Using look presets.
- Click Reel Studio in the top bar.
- Pick a template, such as Reveal.
- Change the words. Select a scene, open the Text tab and type your product name. Do the same on the end card.
- Add your logo in the Brand tab.
- Press Play to watch it, then open the Export tab, choose a shape and click Export MP4.
The rest of this guide explains each step and every setting in detail.
Before you start: set up the studio
Reel Studio films the scene you've built in the studio, so these choices carry over to every 3D shot:
- Which models appear. Only visible models are used. Hide a model in the model list to leave it out of the whole reel, or pick a single model for a scene (see Models).
- The look. Lighting, environment, background, shadows and tone mapping all come from the studio. The lighting guide and backgrounds guide explain them.
- Materials. Each scene can keep the studio's material or switch to original, clay, wireframe, normals or 3D print (see Material).
Photoreal mode isn't used for reels. A path-traced video would take far too long to render, so reels always use the standard renderer.
Open Reel Studio
Click Reel Studio in the top bar, between Projects and Export. It's also in the Export menu, and at the top of the Export tab on the right.
 The Reel Studio button
Reel Studio opens as a full-screen workspace with four areas:
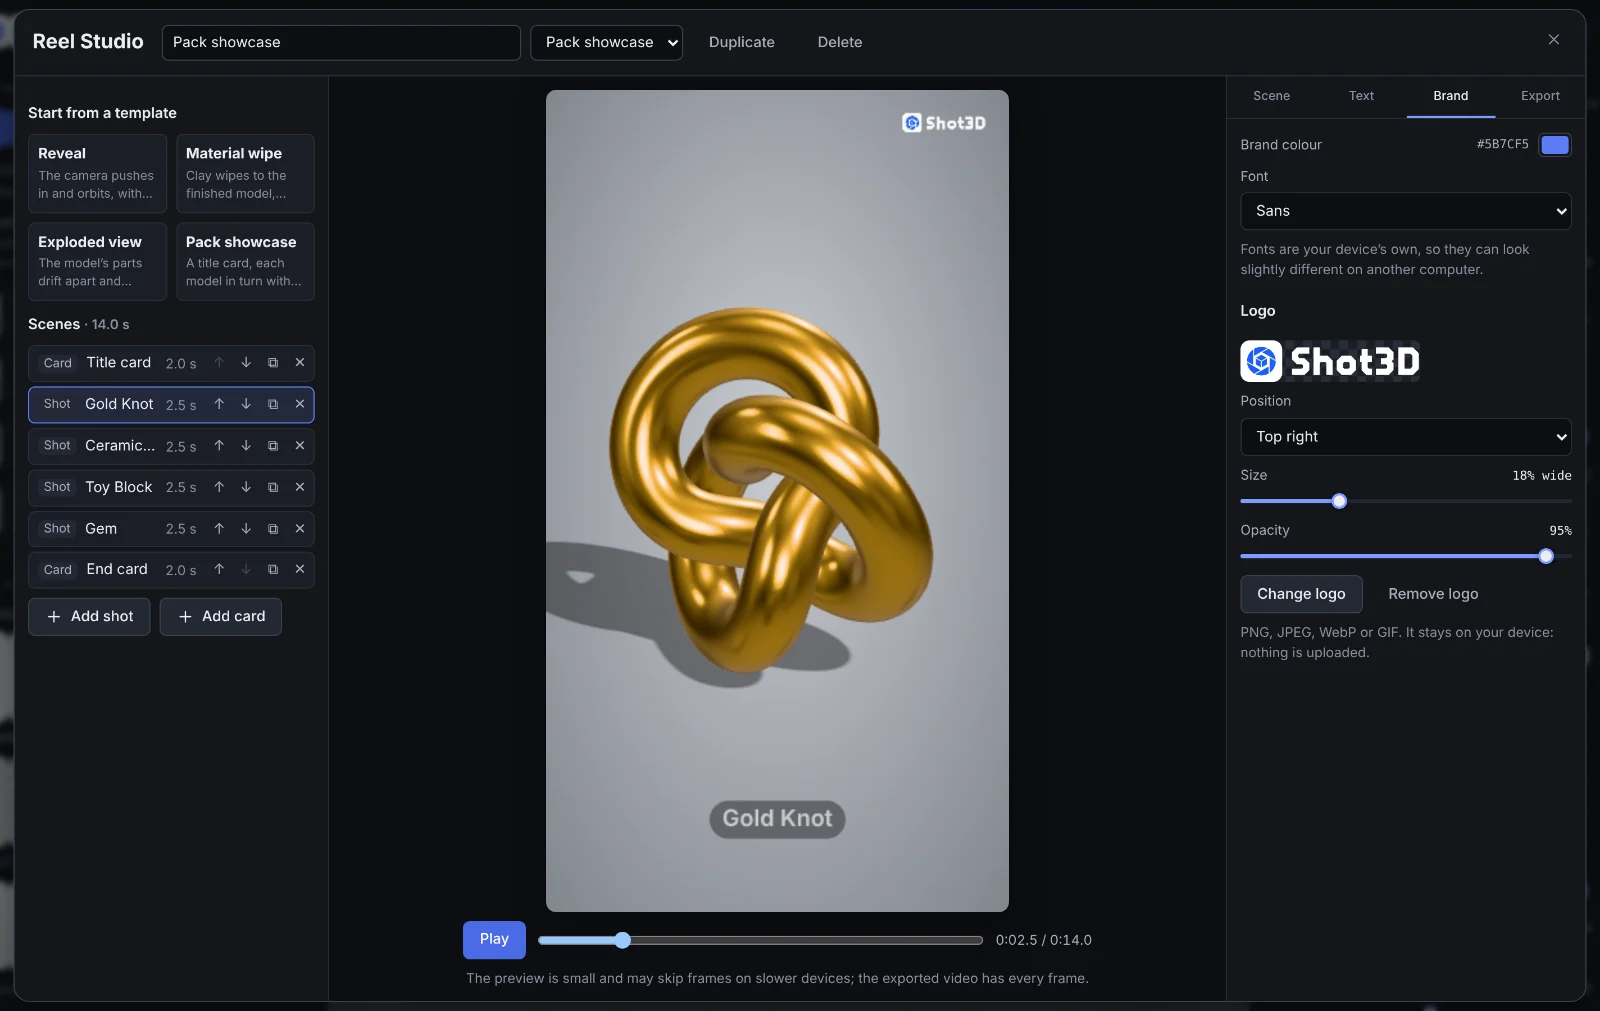 The Reel Studio workspace
- The header, along the top: the reel's name, your saved reels, Duplicate and Delete.
- Templates and scenes, on the left: ready-made reels, and your reel's timeline as a list of scenes.
- The preview, in the middle: a live preview of the reel, with Play and a position slider.
- Settings, on the right, in four tabs: Scene, Text, Brand and Export.
On a phone or a narrow window, the areas stack: the preview sits at the top and the rest scrolls beneath it.
Name, save and manage your reels
 The header
| Control | What it does |
|---|---|
| Name box | The reel's name. It's also used for the MP4's file name. |
| Saved reels list | Switches to another reel you've made. |
| Duplicate | Makes a copy to try a variation without losing the original. |
| Delete | Removes the reel. |
| ✕ | Closes Reel Studio. Your reel is kept. |
Reels save automatically as you edit, in this browser on this device, along with your other studio settings. Nothing is uploaded, so a reel you make on your laptop won't appear on your phone. Reels aren't saved inside .shot3d project files yet.
Start from a template
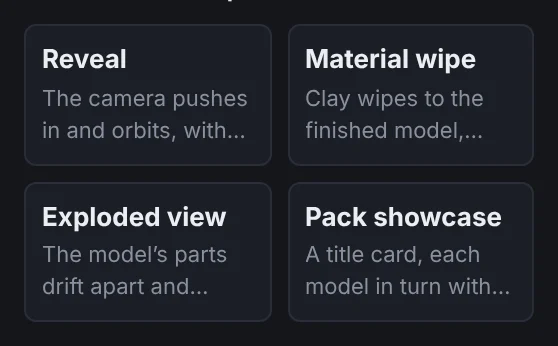 Templates
Each template builds a complete reel you can then change in any way:
| Template | Scenes | Good for |
|---|---|---|
| Reveal | A low hero angle pushing in, carrying straight on into an orbit with an "Available now" caption, then an end card | Launching a single model or a product |
| Material wipe | Clay wipes to the finished model, then the finished model wipes to wireframe as the camera keeps orbiting, then an end card | Showing form, texture and topology: sculpts, game assets, portfolio pieces |
| Exploded view | The parts drift apart and back together during a turntable spin, then a push in on the assembled model, then an end card | Kits, mechanical parts, modular assets, anything made of several parts |
| Pack showcase | A title card with the number of models, a shot of each visible model with its name, then an end card | Asset packs and collections |
Choosing a template replaces the reel's scenes, but keeps your brand colour, font, logo, shape and frame rate. The words "Your title" and "yourshop.com" are placeholders: change them in the Text tab.
The Reveal, Material wipe and Exploded view templates join their shots into one continuous camera move (see Join shots into one smooth camera move). Pack showcase gives each model its own fresh angle, because it changes model every scene.
Build your timeline: scenes
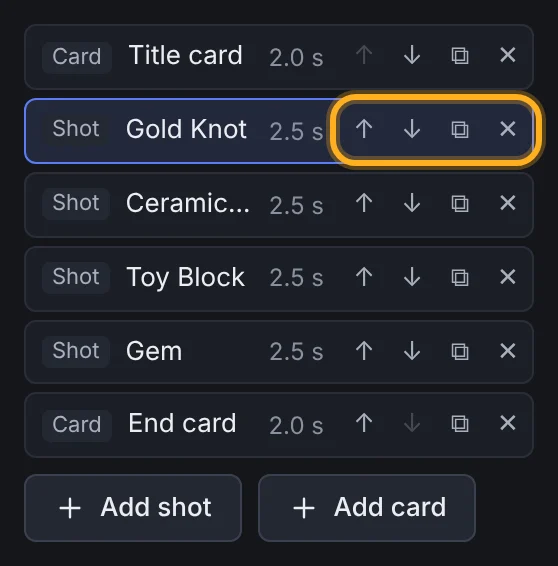 The scene list
The Scenes list is your timeline. Scenes play from top to bottom, and the total length is shown next to the heading. Each row shows whether it's a Shot or a Card, its name and its length. Click a scene to select it and edit it in the tabs on the right.
| Button | What it does |
|---|---|
| ↑ and ↓ | Move the scene earlier or later. |
| ⧉ | Duplicate the scene, with its text, straight after it. |
| ✕ | Delete the scene. |
| Add shot | Adds a 3D shot after the selected scene. A new shot added after another shot carries on from where that one ends. |
| Add card | Adds a title card after the selected scene. |
Limits: up to 40 scenes, 20 seconds per scene and 2 minutes per reel. Social videos usually work best much shorter than that.
Preview your reel
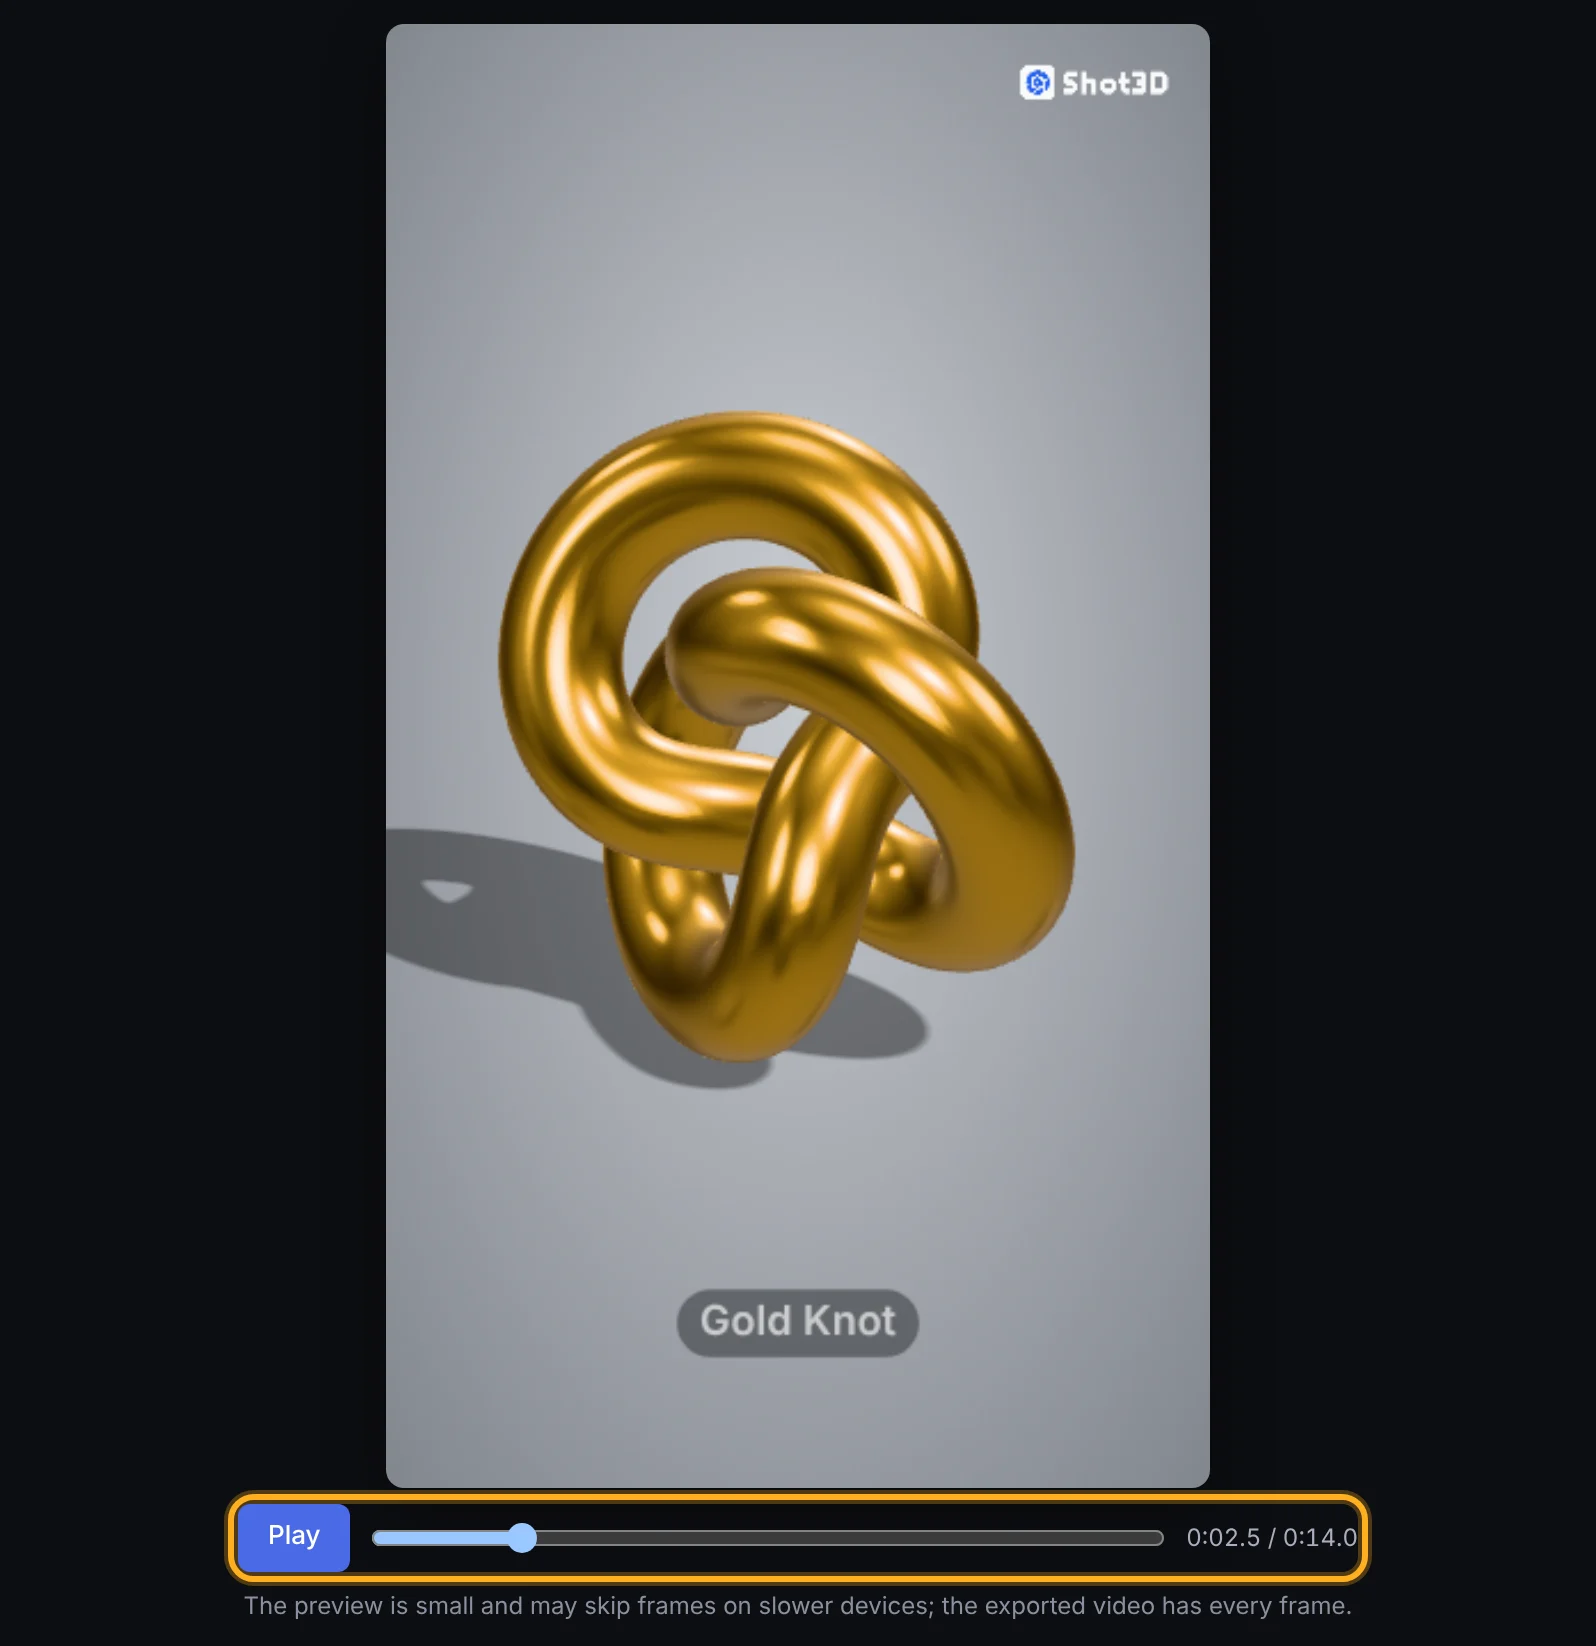 The preview
- Play plays the reel from the current position, and Pause stops it. The selected scene follows along as it plays.
- The position slider moves to any moment. Dragging it into another scene selects that scene, so you can scrub to a moment and edit what's on screen.
- The time shows the current position and the total length.
- Selecting a scene jumps the preview to just after its start.
The preview is drawn small so it stays responsive. On slower devices it may skip frames while playing; the exported video always has every frame.
Scene settings: 3D shots
Select a shot and open the Scene tab. The settings run from top to bottom in this order.
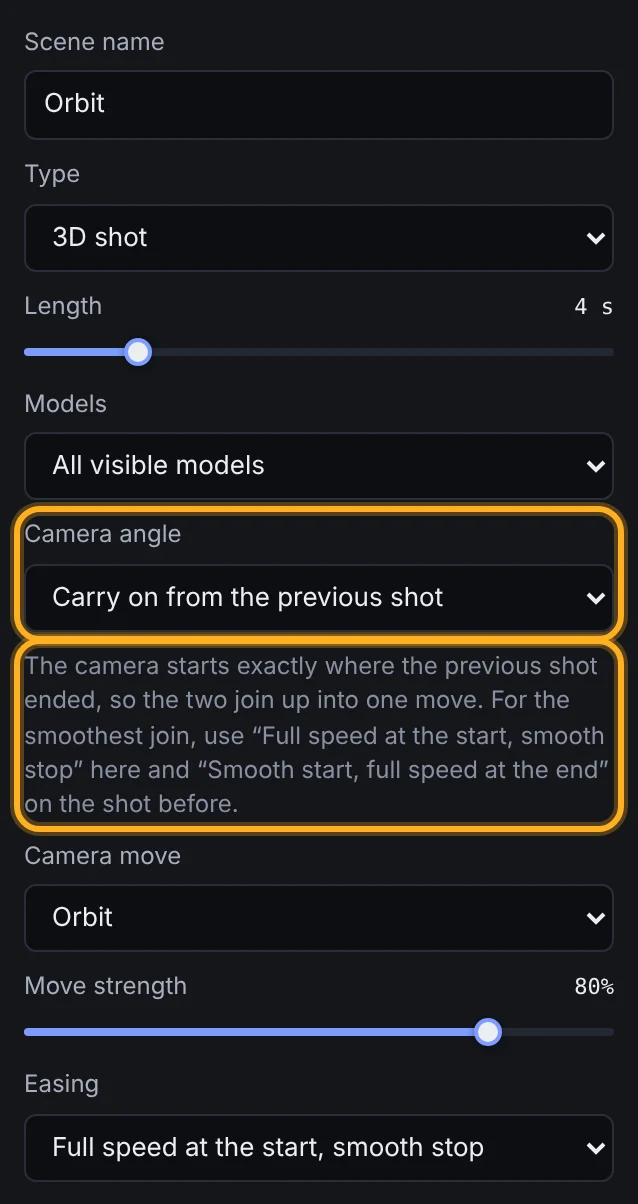 Scene settings
Scene name, type and length
- Scene name: a label for the scene list. It doesn't appear in the video.
- Type: 3D shot or Title or end card. You can switch a scene between the two.
- Length: from 0.5 to 20 seconds, in half-second steps.
Models
All visible models, or one model from your model list. Picking one model frames it on its own, like individual thumbnails. Use it to give each model its own scene, as the Pack showcase template does.
Camera angle
Where the camera starts. These are the studio's eight camera angles:
| Angle | Use it for |
|---|---|
| 3/4 Front | The classic product angle: front and one side, slightly from above |
| Front, Side, Back | Straight-on views |
| 3/4 Back | The back and one side |
| Top | Looking straight down |
| Isometric | A technical, game-art look |
| Hero (low) | A low, dramatic angle that makes models look bigger |
There's also Carry on from the previous shot, which starts the camera exactly where the last shot ended (see Join shots into one smooth camera move).
Camera move
How the camera moves during the scene. Move strength (0 to 100%) sets how far it goes.
| Move | What happens | At 100% strength |
|---|---|---|
| Still | The camera doesn't move. Good for text-heavy scenes and wipes. | — |
| Orbit | The camera circles around the models. | A quarter turn (90°) |
| Turntable (full spin) | The models spin on the spot while the camera stays still. It keeps turning through the transition into the next scene. | One and a half turns. At 0% it's half a turn. |
| Push in | The camera moves closer. | 60% closer |
| Pull out | The camera starts close and moves back to the normal framing. | Starts 60% closer |
| Rise (crane up) | The camera starts low and rises. | Starts 25° lower and rises 40° |
| Sweep (side to side) | The camera glides across the front of the models. | 45° to one side to 45° to the other |
Easing
How the move speeds up and slows down:
| Easing | Feel | Use it for |
|---|---|---|
| Smooth start and stop | Gentle at both ends | Stand-alone shots |
| Smooth start, full speed at the end | Eases in, then hands over at speed | A shot that another shot carries on from |
| Full speed at the start, smooth stop | Arrives at speed, then settles | A shot that carries on from the previous one |
| Constant speed | Even speed throughout | Turntables, and long chains of joined shots |
Material
Which material the models use in this scene:
- As in the studio: whatever the studio is showing.
- Original: the model's own materials and textures.
- Clay: a plain matte surface that shows form. See clay and normals.
- Wireframe: the model's edges. Quads and n-gons are shown for FBX and OBJ files. See wireframe renders.
- Normals: surface directions as colour.
- 3D print: a printed-plastic look with layer lines.
Effect
| Effect | What it does |
|---|---|
| None | No effect. |
| Material wipe | One material sweeps across the models and replaces another, with a bright line where they meet. |
| Exploded view | The models' parts move apart and come back together over the scene. |
Material wipe
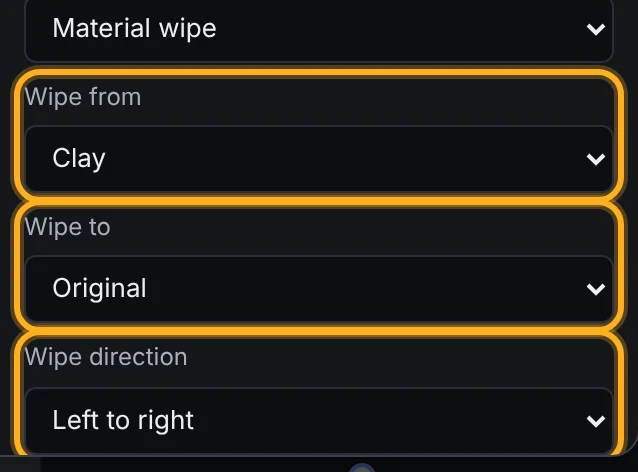 Material wipe settings
- Wipe from and Wipe to: any two of original, clay, wireframe, normals and 3D print.
- Wipe direction: left to right, right to left, top to bottom or bottom to top.
The wipe starts 15% of the way into the scene and finishes 15% before the end, so each material is on screen on its own for a moment. A Still camera or a slow Orbit shows a wipe best. Chain two wipe scenes (clay to original, then original to wireframe), as the Material wipe template does, for a full "how it's made" sequence:
| Clay to original | Original to wireframe |
|---|---|
| Clay to original |
Original to wireframe |
Exploded view
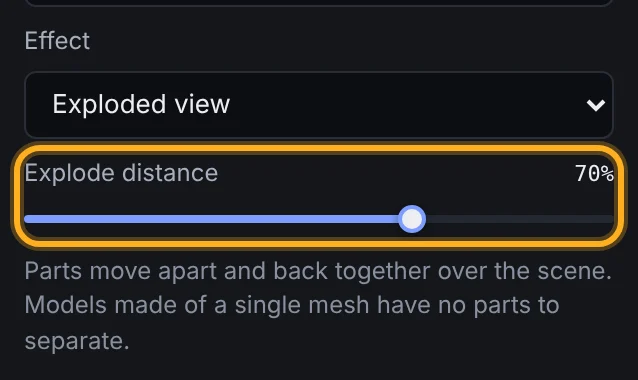 Exploded view settings
Explode distance (10 to 100%) sets how far apart the parts move. They spread out until halfway through the scene and come back together by the end, so the scene starts and ends with the model assembled.
The parts are the separate meshes inside your model file. A model made of one single mesh has nothing to separate. When the scene shows all visible models, the models also move apart from each other. An exploded view works especially well with a Turntable move, as in the Exploded view template:
An exploded view
Transition in
How the scene arrives from the one before it. The first scene has no transition.
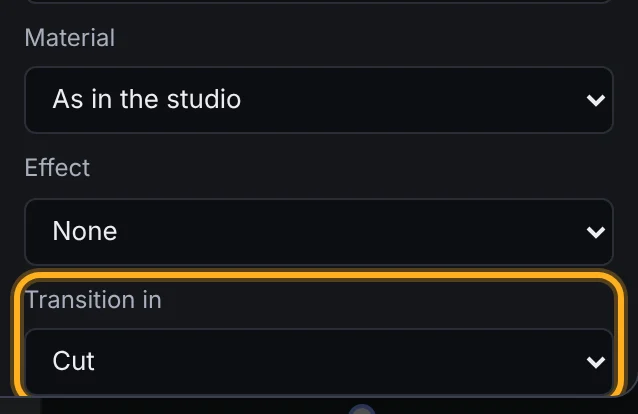 Transition in
| Transition | What happens |
|---|---|
| Cut | Switches instantly. Use it for joined shots and fast edits. |
| Fade | The new scene fades in over the old one. |
| Wipe | The new scene sweeps in from the left, with a bright edge. |
| Zoom | The new scene fades in while settling from slightly enlarged to full size. |
| Slide | The new scene pushes the old one off to the left. |
Every transition except Cut has a Transition length from 0.1 to 2 seconds:
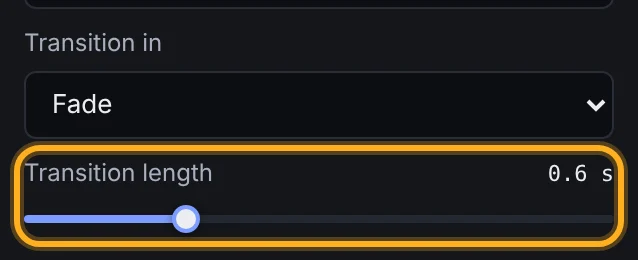 Transition length
A transition never takes more than half of either scene, so short scenes get shorter transitions. Here's a slide transition halfway through, from the gold knot to the vase:
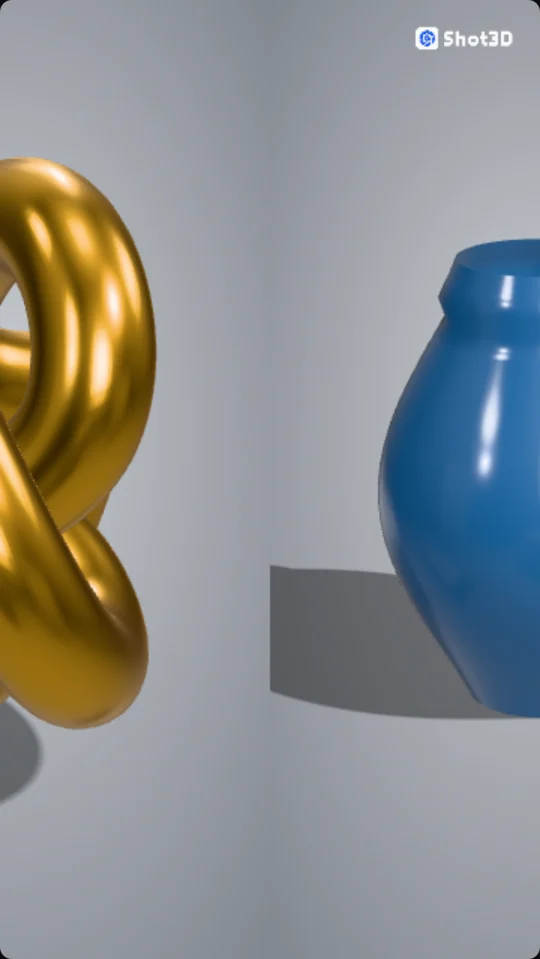 A slide transition
Join shots into one smooth camera move
By default, each shot starts from its own camera angle. That's useful for variety, but a string of separate shots can feel like clips stuck together. To make shots flow into one continuous move, set a shot's Camera angle to Carry on from the previous shot:
- The camera starts exactly where the previous shot ended: the same angle, height, distance and turntable spin. The new move then continues from there: an orbit keeps going round, a push in moves closer still, a rise climbs higher, and a sweep glides out to the side and back.
- The transition switches to Cut, so the join is invisible. You can change it back, but a fade between joined shots usually looks like a stutter.
- Cards are skipped. If a card sits between two shots, the camera picks up where the shot before the card ended.
- New shots carry on by default. Add shot after a shot creates one that carries on from it.
For the smoothest join, avoid the camera slowing to a stop and setting off again. Give the earlier shot Smooth start, full speed at the end, and the later one Full speed at the start, smooth stop. For three or more joined shots, use Constant speed for the shots in the middle.
Ideas: a push in that carries on into an orbit (the Reveal template); a turntable that carries on into a push in; an orbit split into three shots with a different caption in each, so the text changes while the camera never stops.
Scene settings: title and end cards
A card is a full-screen background in your brand colour, shading to a darker tone. Cards have a name, length and transition in, and their words are text layers like any other: edit them in the Text tab. A new card has a large title that pops in; template end cards add your shop name underneath. Use cards to open with a product name, add a pause between sections, or end with where to buy.
Add and animate text
Open the Text tab to add words to the selected scene. Each scene can have up to 8 text layers, of up to 140 characters each. Click a layer's heading to open or close its settings, and Add text to add another.
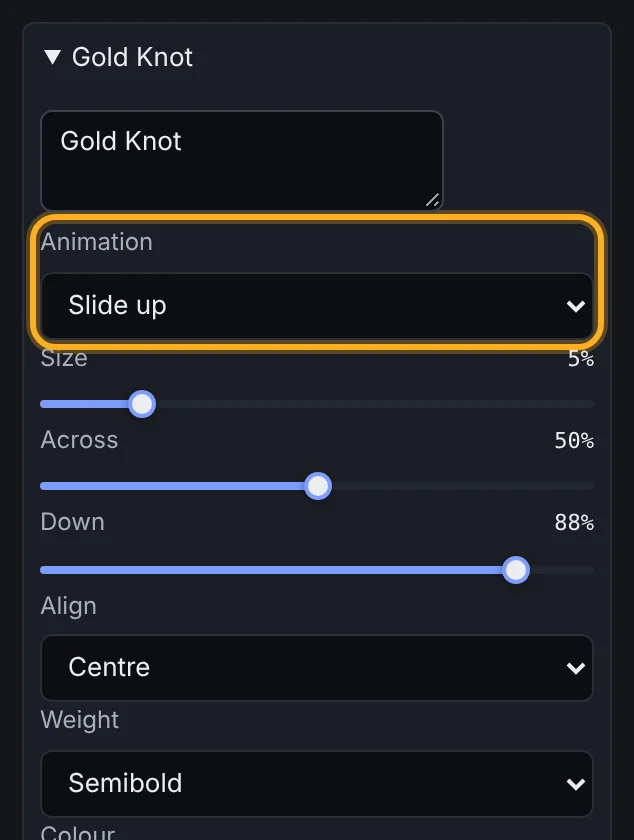 Text settings
| Setting | Options |
|---|---|
| Text | The words. |
| Animation | How it arrives: Fade, Slide up (rises into place as it fades in), Pop (scales up with a little bounce), Typewriter (appears letter by letter) or None. |
| Size | 2% to 20% of the frame's shorter side, so text keeps its proportions in every shape. |
| Across and Down | Where the text sits, from 0% (left or top) to 100% (right or bottom). |
| Align | Left, Centre or Right, around that point. |
| Weight | Regular, Semibold or Bold. |
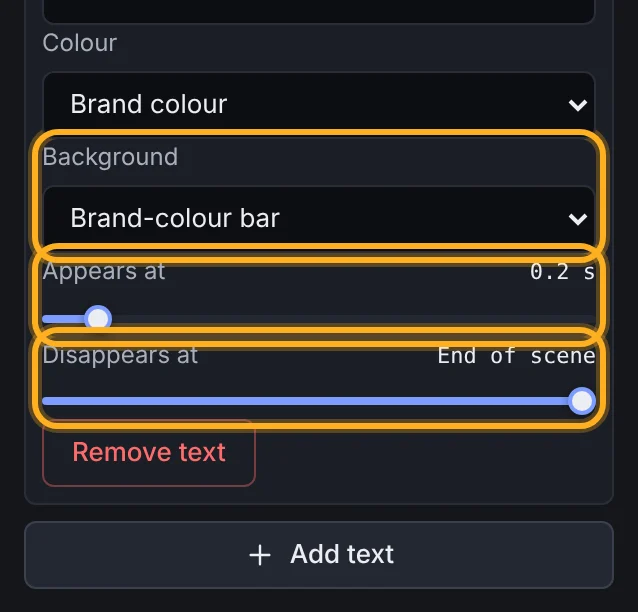 Text style and timing
| Setting | Options |
|---|---|
| Colour | White, Black, Brand colour, or Custom with a colour picker. Brand-colour text on a brand-colour bar is shown in white or near-black instead, whichever reads better, so it never disappears. |
| Background | None (soft shadow): a soft shadow keeps the text readable on any background. Dark pill: a rounded, semi-transparent dark box. Brand-colour bar: a solid band in your brand colour, running the full width of the frame when the text is centred. |
| Appears at | When the text arrives, in seconds into the scene. The animation takes just under half a second. |
| Disappears at | When the text fades out (over 0.3 seconds), or End of scene to keep it until the scene ends. |
| Remove text | Deletes the layer. |
Text on a brand-colour bar
Tips for readable text on phones:
- Keep captions short: a product name, a single benefit, a call to action.
- In vertical videos, keep important text away from the very top and bottom, where apps place their own buttons and captions.
- Give each caption at least a second and a half on screen after it arrives.
- Use the pill or bar backgrounds over busy backgrounds.
Your brand: colour, font and logo
The Brand tab applies to the whole reel.
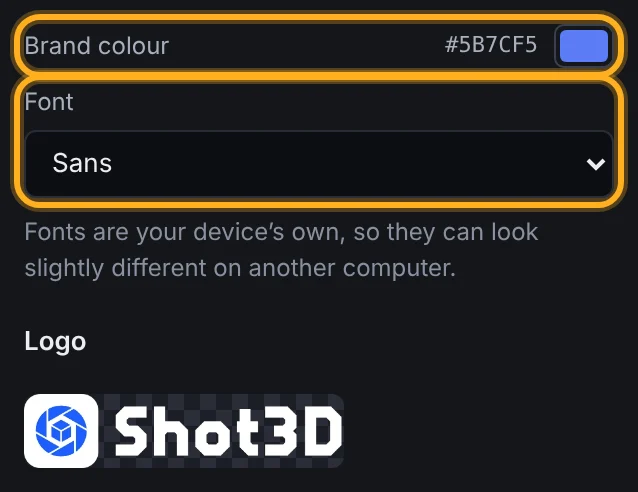 Brand colour and font
- Brand colour: used for cards, brand-colour bars, and text set to Brand colour.
- Font: Sans, Serif, Rounded, Mono or Condensed. These use your device's own system fonts, so nothing is downloaded, but the same font can look slightly different on another computer. Export from the device whose look you want.
Add your logo to the video
Click Add your logo and choose a PNG, JPEG, WebP or GIF image of up to 20 MB. A PNG with a transparent background looks best. Shot3D scales it to 512 pixels on its longest side to keep it light. SVG files aren't accepted: export your logo as a PNG first.
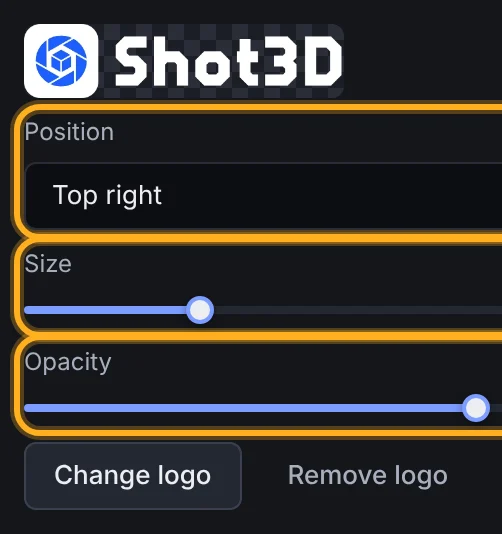 Logo settings
| Setting | Options |
|---|---|
| Position | Top left, Top centre, Top right, Centre, Bottom left, Bottom centre or Bottom right, with a margin from the edge. |
| Size | 5% to 50% of the frame's width. The logo keeps its proportions. |
| Opacity | 10% to 100%. Around 80–90% looks like a subtle watermark. |
| Change logo and Remove logo | Swap or remove it. |
The logo appears on every frame, including cards. Your logo stays on your device: it's kept in this browser with your reels and never uploaded. If an image is too detailed to store, Shot3D asks for a simpler or smaller one.
Export your video as an MP4
Open the Export tab.
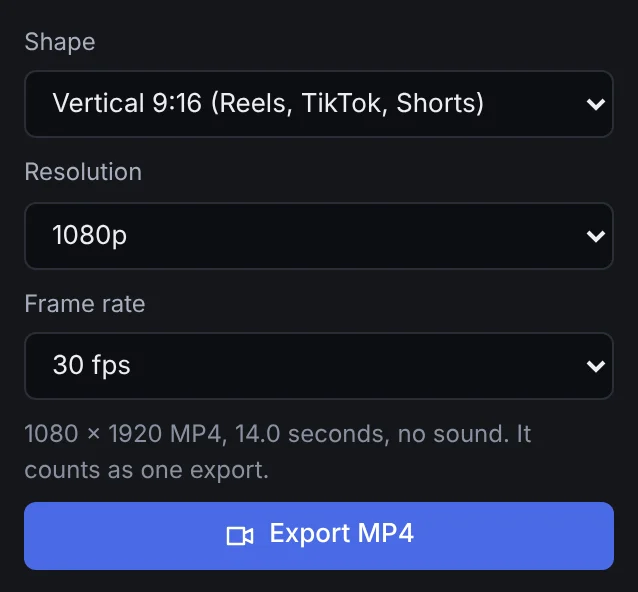 Export settings
| Setting | Options |
|---|---|
| Shape | Vertical 9:16 (Reels, TikTok, Shorts), Square 1:1 (feeds), Portrait 4:5 (Instagram feed) or Landscape 16:9 (YouTube, store pages). |
| Resolution | The short side of the video: 720p, 1080p, 1440p or 4K (2160p), up to your plan's limit. Sizes above your plan are marked "not on your plan", and the export uses your plan's largest size instead. |
| Frame rate | 24 fps (a film look), 30 fps, or 60 fps (the smoothest motion, and twice as many frames to render as 30). |
The line under the settings shows the exact video size and length, for example "1080 × 1920 MP4, 14.0 seconds, no sound".
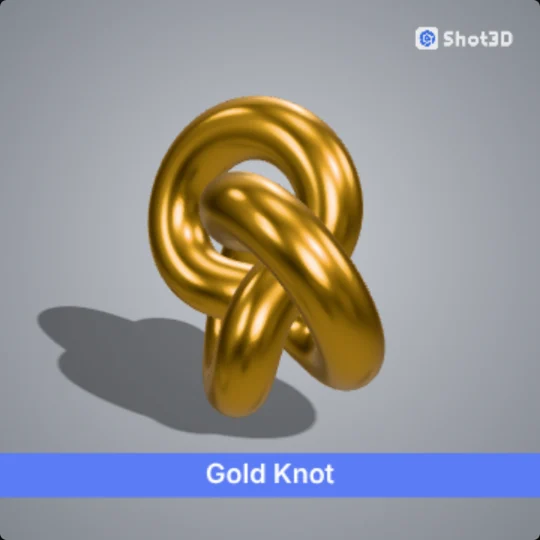
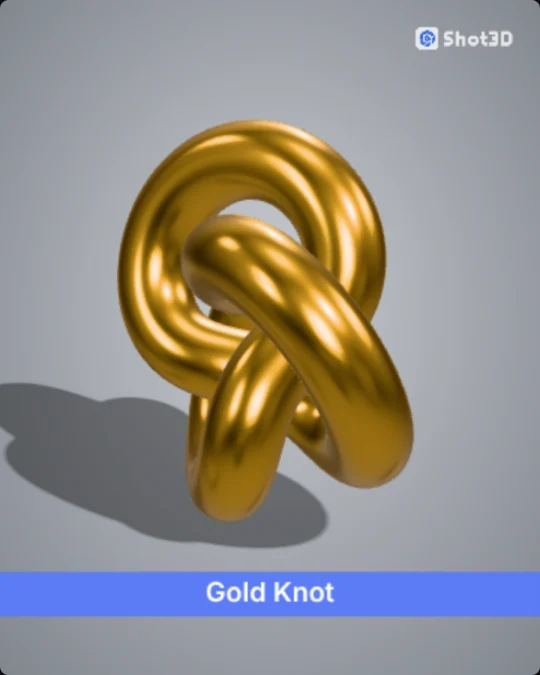
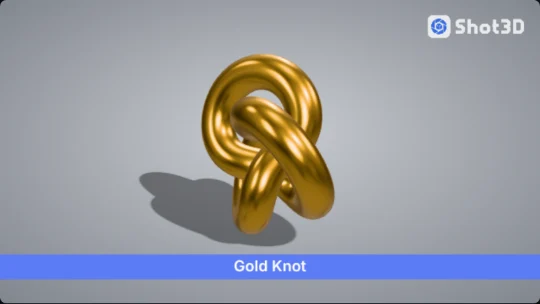
You can change the shape at any time. Text, the logo and cards adapt to the new frame, and the preview updates. The same reel in the other three shapes:
| Square 1:1 | Portrait 4:5 | Landscape 16:9 |
|---|---|---|
 Square 1:1 |
 Portrait 4:5 |
 Landscape 16:9 |
Click Export MP4. A progress window counts the frames, and Cancel stops at any point:
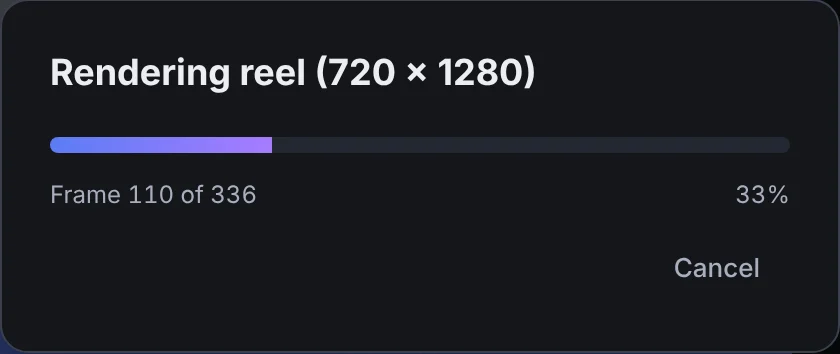 Exporting
When it finishes, the MP4 downloads to your device, named after your reel. The video is H.264, the most widely supported video format, and it has no sound track.
How long does it take? Longer than the video lasts, because every frame is rendered in full and then encoded on your device. Time depends on your graphics card, the resolution, the frame rate and the length. Try a short 720p export first to get a feel for your computer. Keep the tab open and visible while it runs.
If your browser can't encode MP4 at the chosen size, Shot3D tells you before starting. Try a smaller size, or a current version of Chrome, Edge or Safari.
Which shape and settings for each platform
Platforms change their rules, so check each one's own help pages before relying on these:
| Where | Shape | Notes from the platform's own help |
|---|---|---|
| Instagram Reels | Vertical 9:16 | Instagram accepts reels from 1.91:1 to 9:16, with a minimum frame rate of 30 fps and a minimum resolution of 720 pixels (Instagram Help Centre). Use 30 fps or 60 fps, not 24. |
| YouTube Shorts | Vertical 9:16 or square 1:1 | Shorts are square or vertical videos of up to 3 minutes (YouTube Help). |
| TikTok | Vertical 9:16 | TikTok's business guidance recommends the full 9:16 portrait shape (TikTok for Business). |
| Instagram and Facebook feeds | Portrait 4:5 or square 1:1 | Taller shapes take up more of the screen in a feed. |
| YouTube, store pages, websites | Landscape 16:9 | Wide videos fit desktop players and product pages. |
For a vertical video, 1080p gives 1080 × 1920 pixels. If you're on Free, 720p (720 × 1280) meets Instagram's minimum resolution.
Music and sound
Reel Studio videos are silent. Add music in Instagram, TikTok or YouTube when you post: their libraries include tracks you can use on their platforms, which keeps you within their music rules. Shot3D doesn't include music, because tracks need a licence for each use.
Plans
Everyone can use the whole of Reel Studio: every template, effect, text option and the logo. Plans set the video size and the watermark:
| Signed out and Free | £1 trial and Pro | Studio | |
|---|---|---|---|
| Reel Studio, every tool and template | Yes | Yes | Yes |
| Resolution | Up to 720p | Up to 1080p | Up to 4K |
| Watermark | A Shot3D watermark across the middle | None | None |
Each exported video counts as one export: 3 without an account, or 10 a day with a free account. Previewing and editing don't count.
On Free, the Export tab explains the watermark and limit, and the preview shows the watermark so you can see exactly what you'll get:
| The Export tab on Free | A Free preview frame |
|---|---|
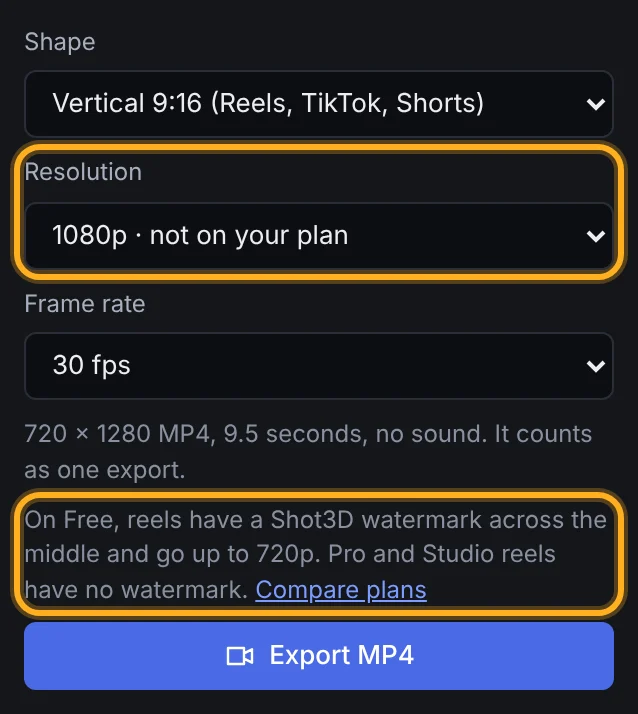 Export on Free |
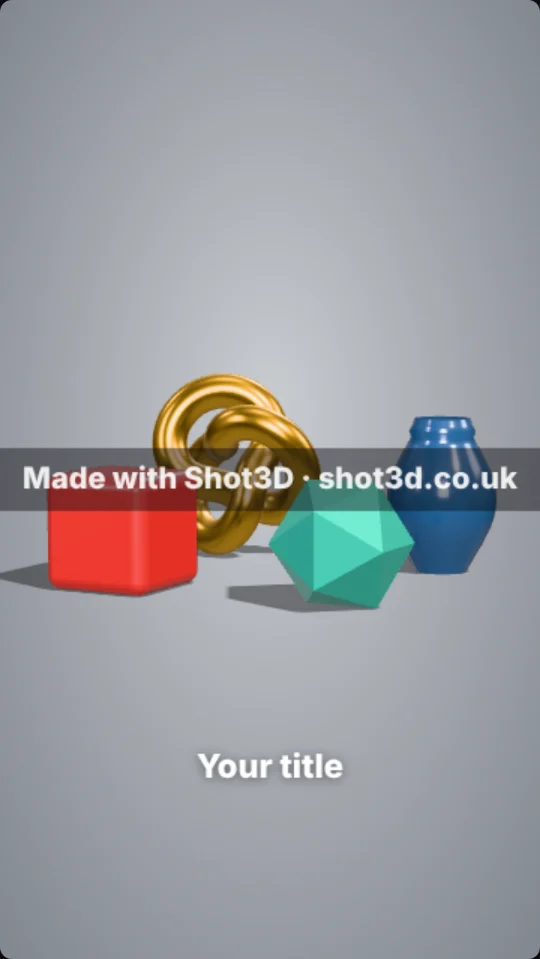 The Free watermark |
See Accounts, plans and billing for everything else in each plan.
Ideas and recipes
- Product launch (about 10 seconds): a hero push in with the product name, carrying on into an orbit with "Available now", then an end card with your shop. This is the Reveal template.
- How it's made (about 10 seconds): clay to original, then original to wireframe, with a still or slow orbit camera and captions such as "Sculpted", "Textured" and "Clean topology".
- What's in the pack: the Pack showcase template, with Slide transitions and each model's name on a pill.
- Assembly: an exploded view on a turntable, then a push in on the assembled model.
- 3D print preview: the 3D print material on a turntable, with the print's size and material as captions. The 3D print preview tool shows the look.
- One look, every shape: make the reel once in 9:16, export it, then switch the shape to 1:1 and 16:9 and export again.
For a simple looping 360° spin without text or scenes, the turntable video export is quicker.
Troubleshooting
The exploded view doesn't move anything. The model is a single mesh, so it has no parts to separate. Split it into separate objects in your 3D software and export it again.
A model is missing from the reel. It's hidden in the studio's model list, or the scene is set to show a different single model.
The text is hard to read. Use a Dark pill or Brand-colour bar background, make it larger or bolder, or move it away from busy parts of the frame.
The preview is jerky. The preview skips frames on slower devices to keep up. The exported MP4 has every frame.
The export is slow. Lower the resolution or frame rate, shorten the reel, or close other heavy tabs. Keep the Shot3D tab visible while it renders.
"This browser can't make … MP4 video". Your browser can't encode video at that size. Choose a smaller resolution, or use a current Chrome, Edge or Safari.
The font looks different on another computer. Fonts come from each device's system fonts. Export from the computer whose look you prefer.
My reel isn't on my other device. Reels are saved in the browser where you made them. Nothing is uploaded, so they don't sync.
Frequently asked questions
Is Reel Studio free?
Yes, to use. Free and signed-out videos go up to 720p and carry a Shot3D watermark across the middle. Pro (£10 a month) exports up to 1080p and Studio (£25 a month) up to 4K, both without a watermark. Each video counts as one export.
Are my models or my logo uploaded?
No. Reels are rendered and encoded on your device, your models stay on your device, and your logo is kept in your browser. Nothing is sent to Shot3D.
Which 3D file formats can I use?
Any model the studio can open: GLB, glTF, FBX, OBJ (with MTL), STL, PLY and 3MF. See Importing 3D models.
What video format does Reel Studio export?
An MP4 file with H.264 video and no sound, in 9:16, 1:1, 4:5 or 16:9, at 24, 30 or 60 frames a second.
How long can a reel be?
Up to 2 minutes, with up to 40 scenes of up to 20 seconds each.
Can I add music or a voice-over?
Not in Shot3D. Add music when you post, from Instagram's, TikTok's or YouTube's own libraries, or add audio in a video editor.
Can I use my own fonts?
Not yet. Reel Studio uses five system font styles: sans, serif, rounded, mono and condensed.
Can I make a vertical turntable video for TikTok?
Yes. Use a shot with the Turntable (full spin) move, set the shape to Vertical 9:16, and set the length and Move strength to get the number of turns you want. For a plain looping spin, the turntable video export also offers a 9:16 shape.
Do reels use Photoreal mode?
No. Reels always use the standard renderer: a path-traced video would take far too long to render.
Can I edit a reel after exporting it?
Yes. Reels save as you edit, so you can come back, change anything and export again. Use Duplicate to keep the original.