
Exporting individual thumbnails for every model
In short: click Export → Individual thumbnails (or press Ctrl+Shift+E). Shot3D renders every visible model on its own, frames each one automatically from the current camera angle, and downloads them as one ZIP (or separate files), named after each model. Hidden models are skipped.
This is the fastest way to make thumbnails for a whole asset pack. For the full workflow, see our guide to batch rendering thumbnails.
Before you export
Set up the look once and it's used for every model:
- Import all the models you want thumbnails for.
- Choose a look preset.
- Pick a camera angle, for example 1 for 3/4 Front. Every model is shot from this angle.
- In the Export tab, set the aspect ratio, resolution and file name prefix. See exporting a thumbnail.
Choose how the files are delivered
In the Export tab, the Individual thumbnails section has one setting, Delivery:
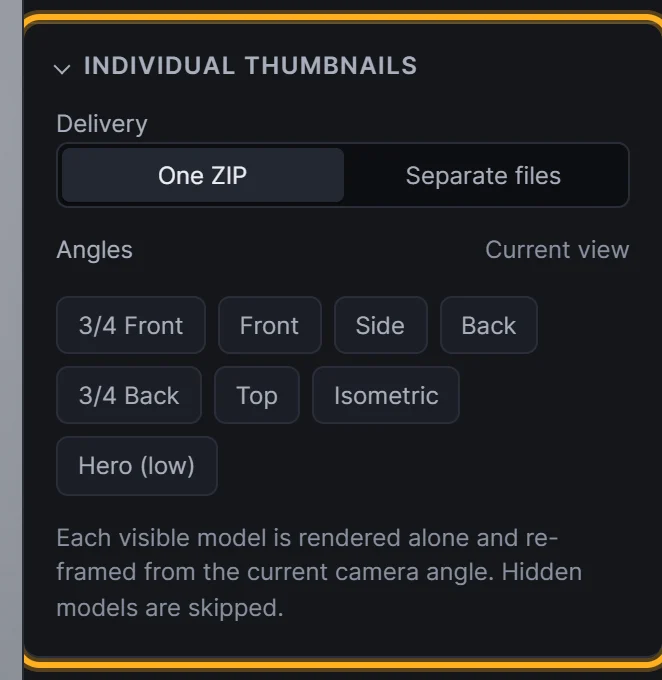 Delivery: one ZIP or separate files
- One ZIP (recommended): every PNG in a single archive, for example
thumbnail-individual-20261103-1430.zip. - Separate files: each PNG downloads on its own. Your browser may ask you to allow multiple downloads the first time.
Leave out models you don't want
Only visible models are exported. Hide any model you want to leave out with the eye button in the Models list. The count in the Export menu tells you how many thumbnails you'll get. Here the Gem is hidden, so 3 thumbnails will be exported:
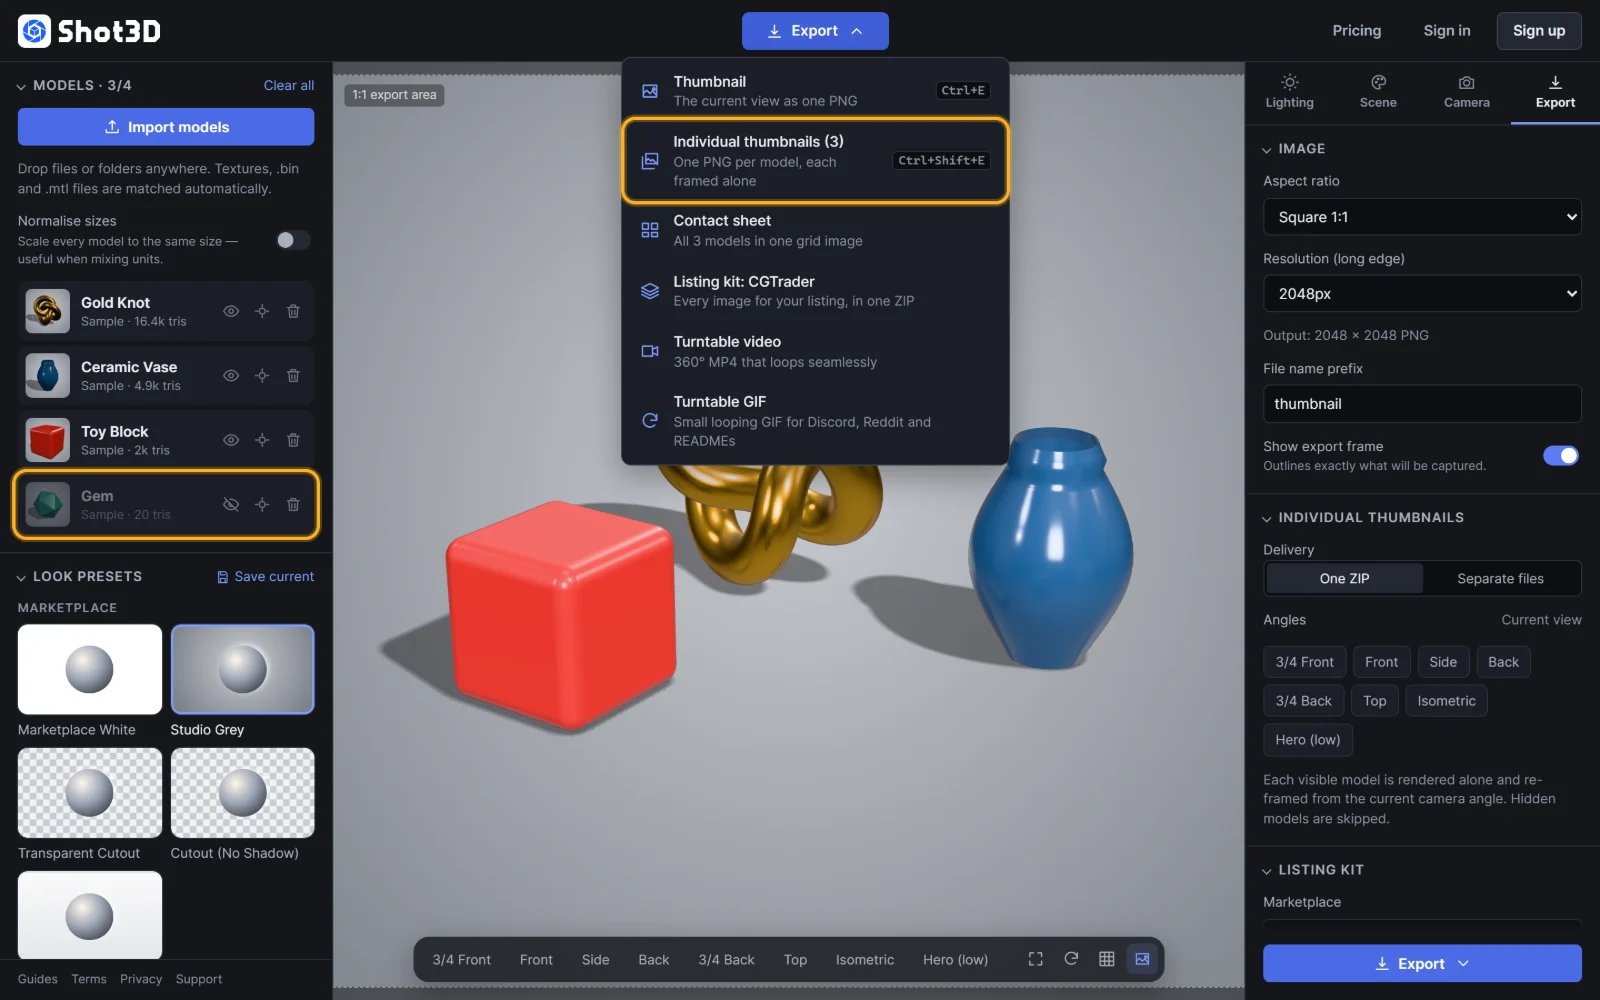 Hidden models are skipped
Export
Click Export in the top bar and choose Individual thumbnails:
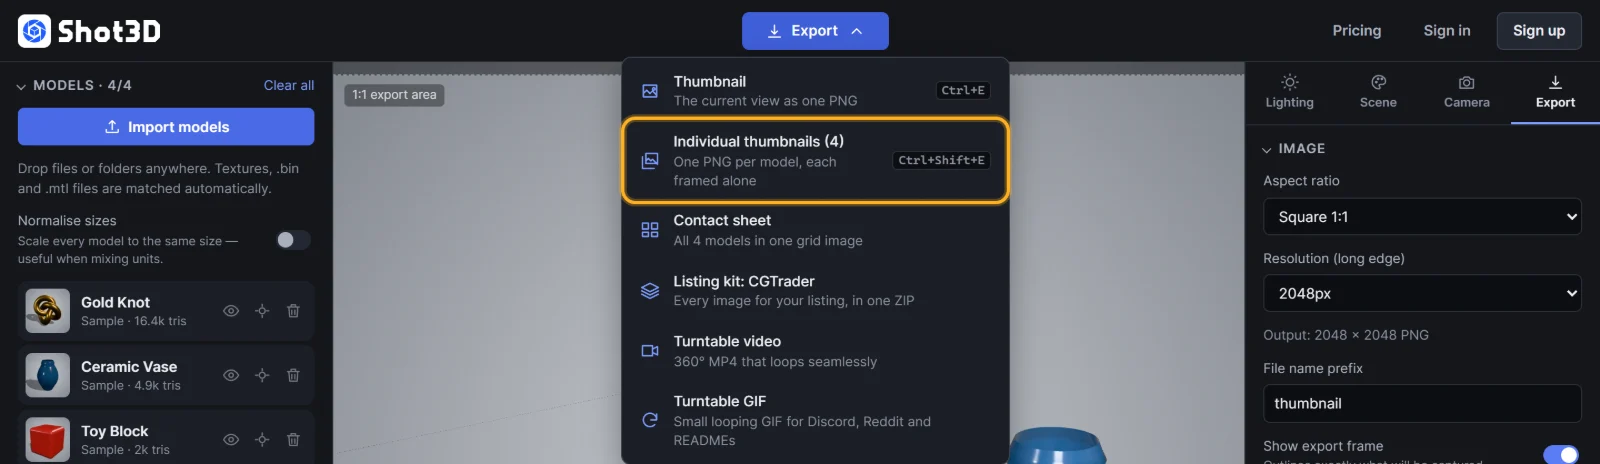 Export → Individual thumbnails
A progress dialog shows each model as it's rendered. Each one is shown alone and framed to fill the export area, using your Framing margin:
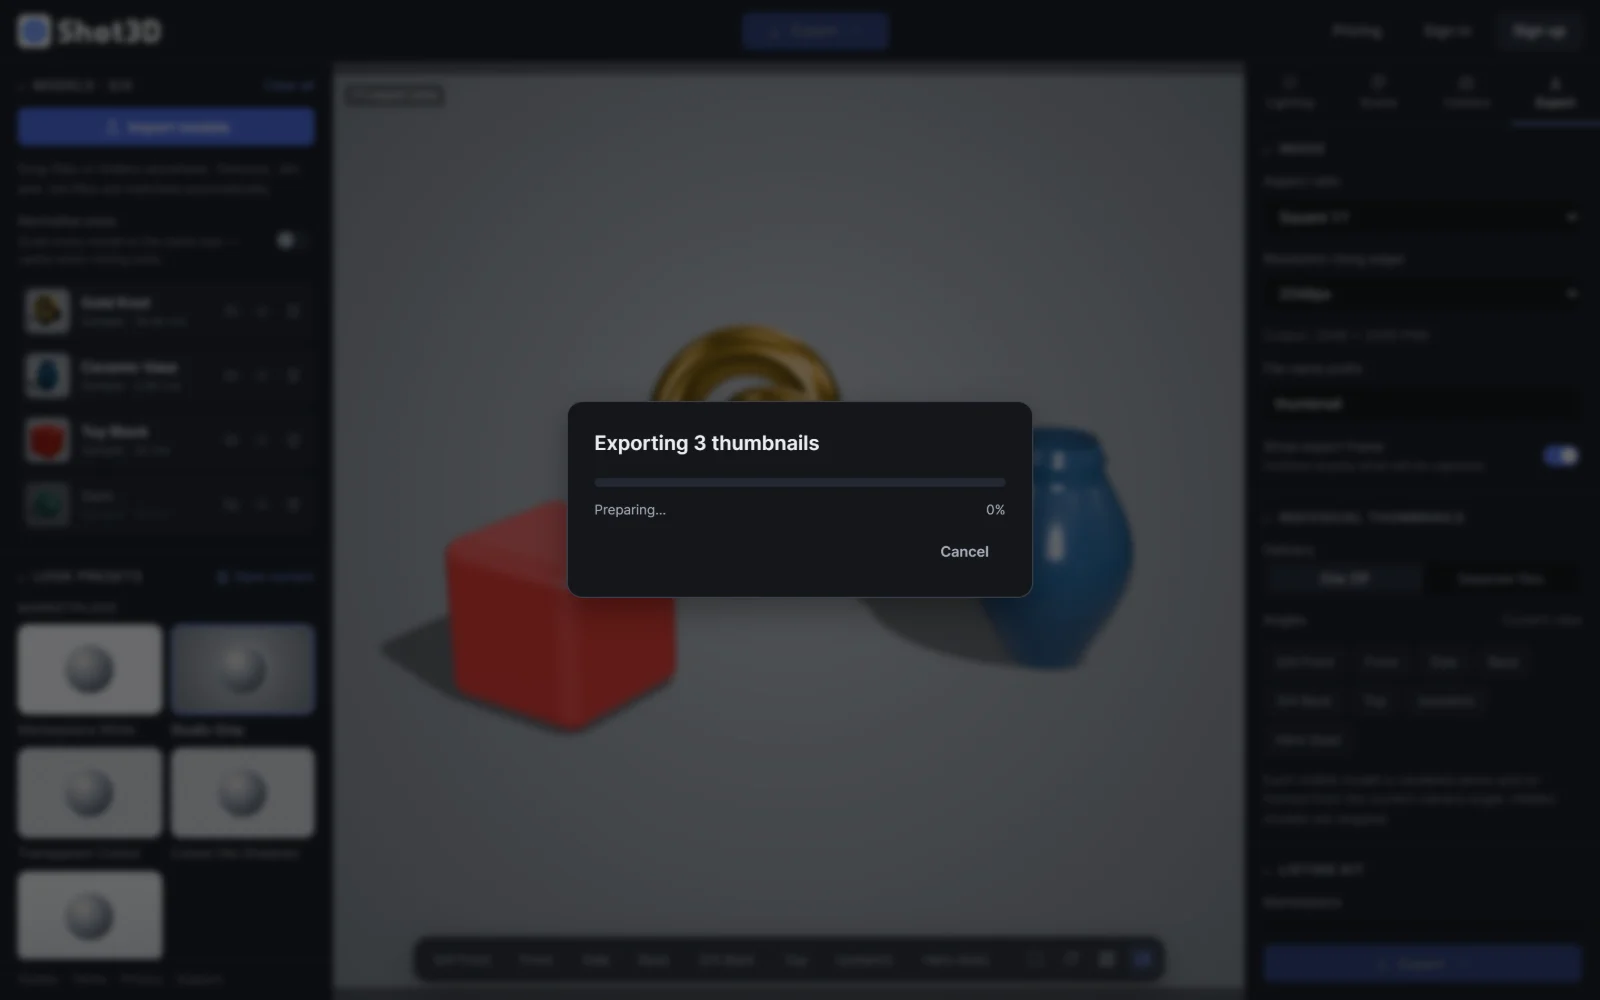 Each model is rendered and framed on its own
Click Cancel at any time to stop. When it's finished, the ZIP (or the separate files) downloads, and your scene is restored exactly as it was.
Several angles per model (Pro)
Under Angles in the Individual thumbnails section, click every angle you want, such as 3/4 Front, Side and Back. Each model is then framed and rendered from each angle in one go, so 10 models and 3 angles gives 30 images, named like thumbnail-gold-knot-back.png. Click an angle again to turn it off. With none selected, the current camera view is used.
File names
Each image is named with your prefix and the model's name, for example thumbnail-gold-knot.png and thumbnail-ceramic-vase.png. If two models share a name, a number is added (-2, -3) so nothing is overwritten.
Tip: set the prefix to the pack's name (for example forest-pack) so files from different packs never get mixed up.
How many models per batch?
| Plan | Models per batch |
|---|---|
| Free | 5 (with a small watermark) |
| Pro | 200 |
| Studio | Unlimited |
If you have more visible models than your plan allows, the first ones in the list are exported and a message tells you how many were included.
Frequently asked questions
Can I export each model at a different angle?
Each model gets the same angles, which keeps a set consistent. On Pro and Studio, pick several under Angles. On Free, run one batch per angle, for example 1 then export, 5 then export.
Are transparent backgrounds supported?
Yes. Set the background to None (or use a Cutout preset) and every PNG in the batch keeps its transparency.
Does it change my scene?
No. Models are shown one at a time only while rendering. Your scene, visibility and camera are restored afterwards.
Can I get all the models in one image instead?
Yes. Choose Export → Contact sheet for a single grid image of every visible model, each framed the same way. See exporting a contact sheet.