
Exporting a contact sheet of every model
In short: load your models, pick a look and angle, then choose Export → Contact sheet. Shot3D renders every visible model on its own, frames each one the same way and lays them out in one grid PNG, with each model's name in the corner. The grid is balanced automatically, or you can set the number of columns.
A contact sheet is the "everything in the pack" image. Marketplaces such as CGTrader, Fab, the Unity Asset Store and itch.io show it first, because buyers want to see the whole contents at a glance. Making one by hand means rendering every model, then lining them up in an image editor. Shot3D does both in one step.
Set up the shot
Every cell uses the same look and camera angle, so set them up once:
- Import the whole pack. Hide anything you want to leave out with the eye button in the Models list.
- Choose a look preset. Darker looks such as Dark Studio make bright models stand out; Marketplace White suits product packs.
- Pick a camera angle, for example 1 for 3/4 Front. Each model is framed from this angle.
- In the Export tab, set the aspect ratio and resolution. The aspect ratio sets the shape of each cell, and the resolution sets the long edge of the whole sheet.
Contact sheet settings
The Contact sheet section in the Export tab has two settings:
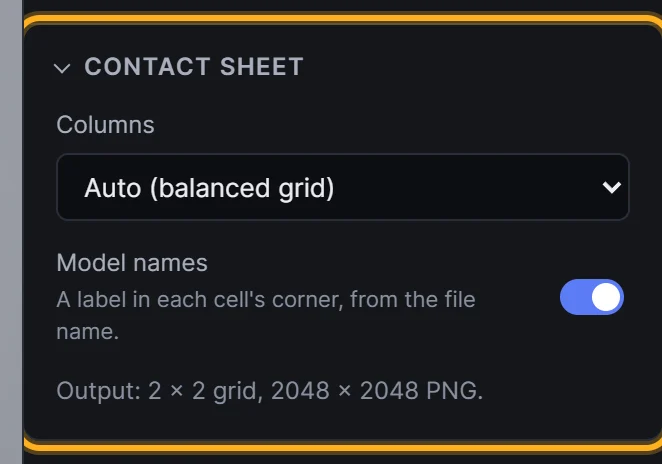 Contact sheet settings
- Columns: Auto picks the most balanced grid with the fewest empty cells, for example 6 × 5 for 30 models. Or choose a fixed number from 2 to 12.
- Model names: a label in the bottom corner of each cell, taken from the file name and tidied up.
01_GreenApple.glbbecomes "Green Apple". Turn it off for a clean grid.
Below the settings, Output shows the grid and the exact size of the image, for example "6 × 5 grid, 4092 × 2275 PNG".
Export
Click Export in the top bar (or at the bottom of the Export tab) and choose Contact sheet:
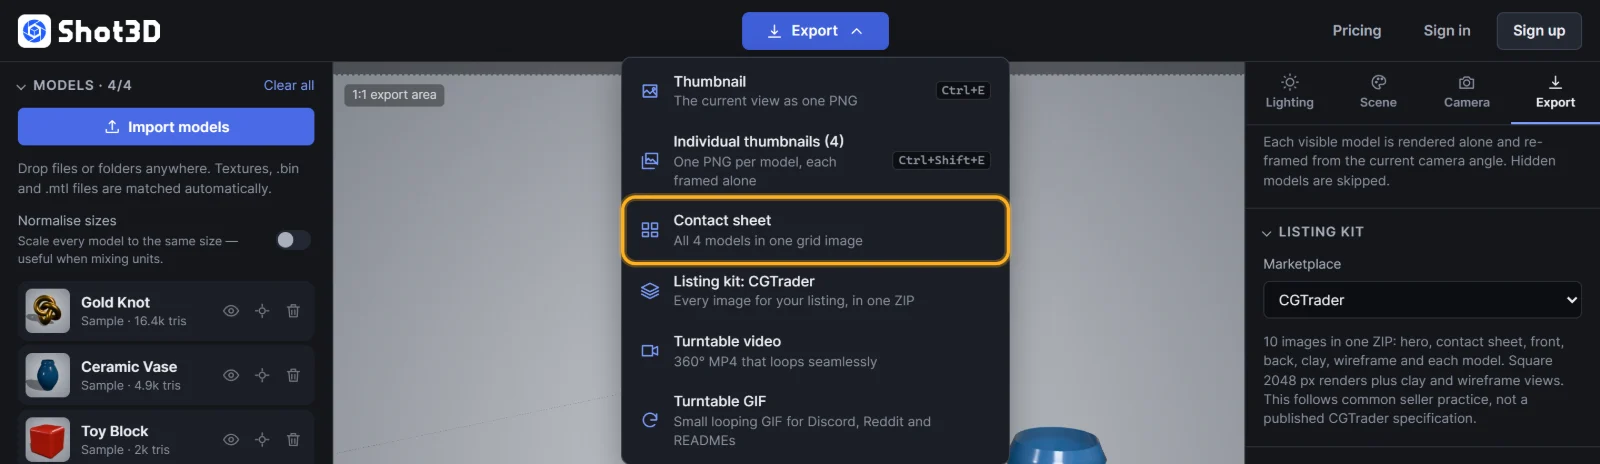 Export → Contact sheet
A progress dialog shows each model as it's rendered. When it's done, the sheet downloads as one PNG, named like thumbnail-contact-sheet-20261104-1430.png:
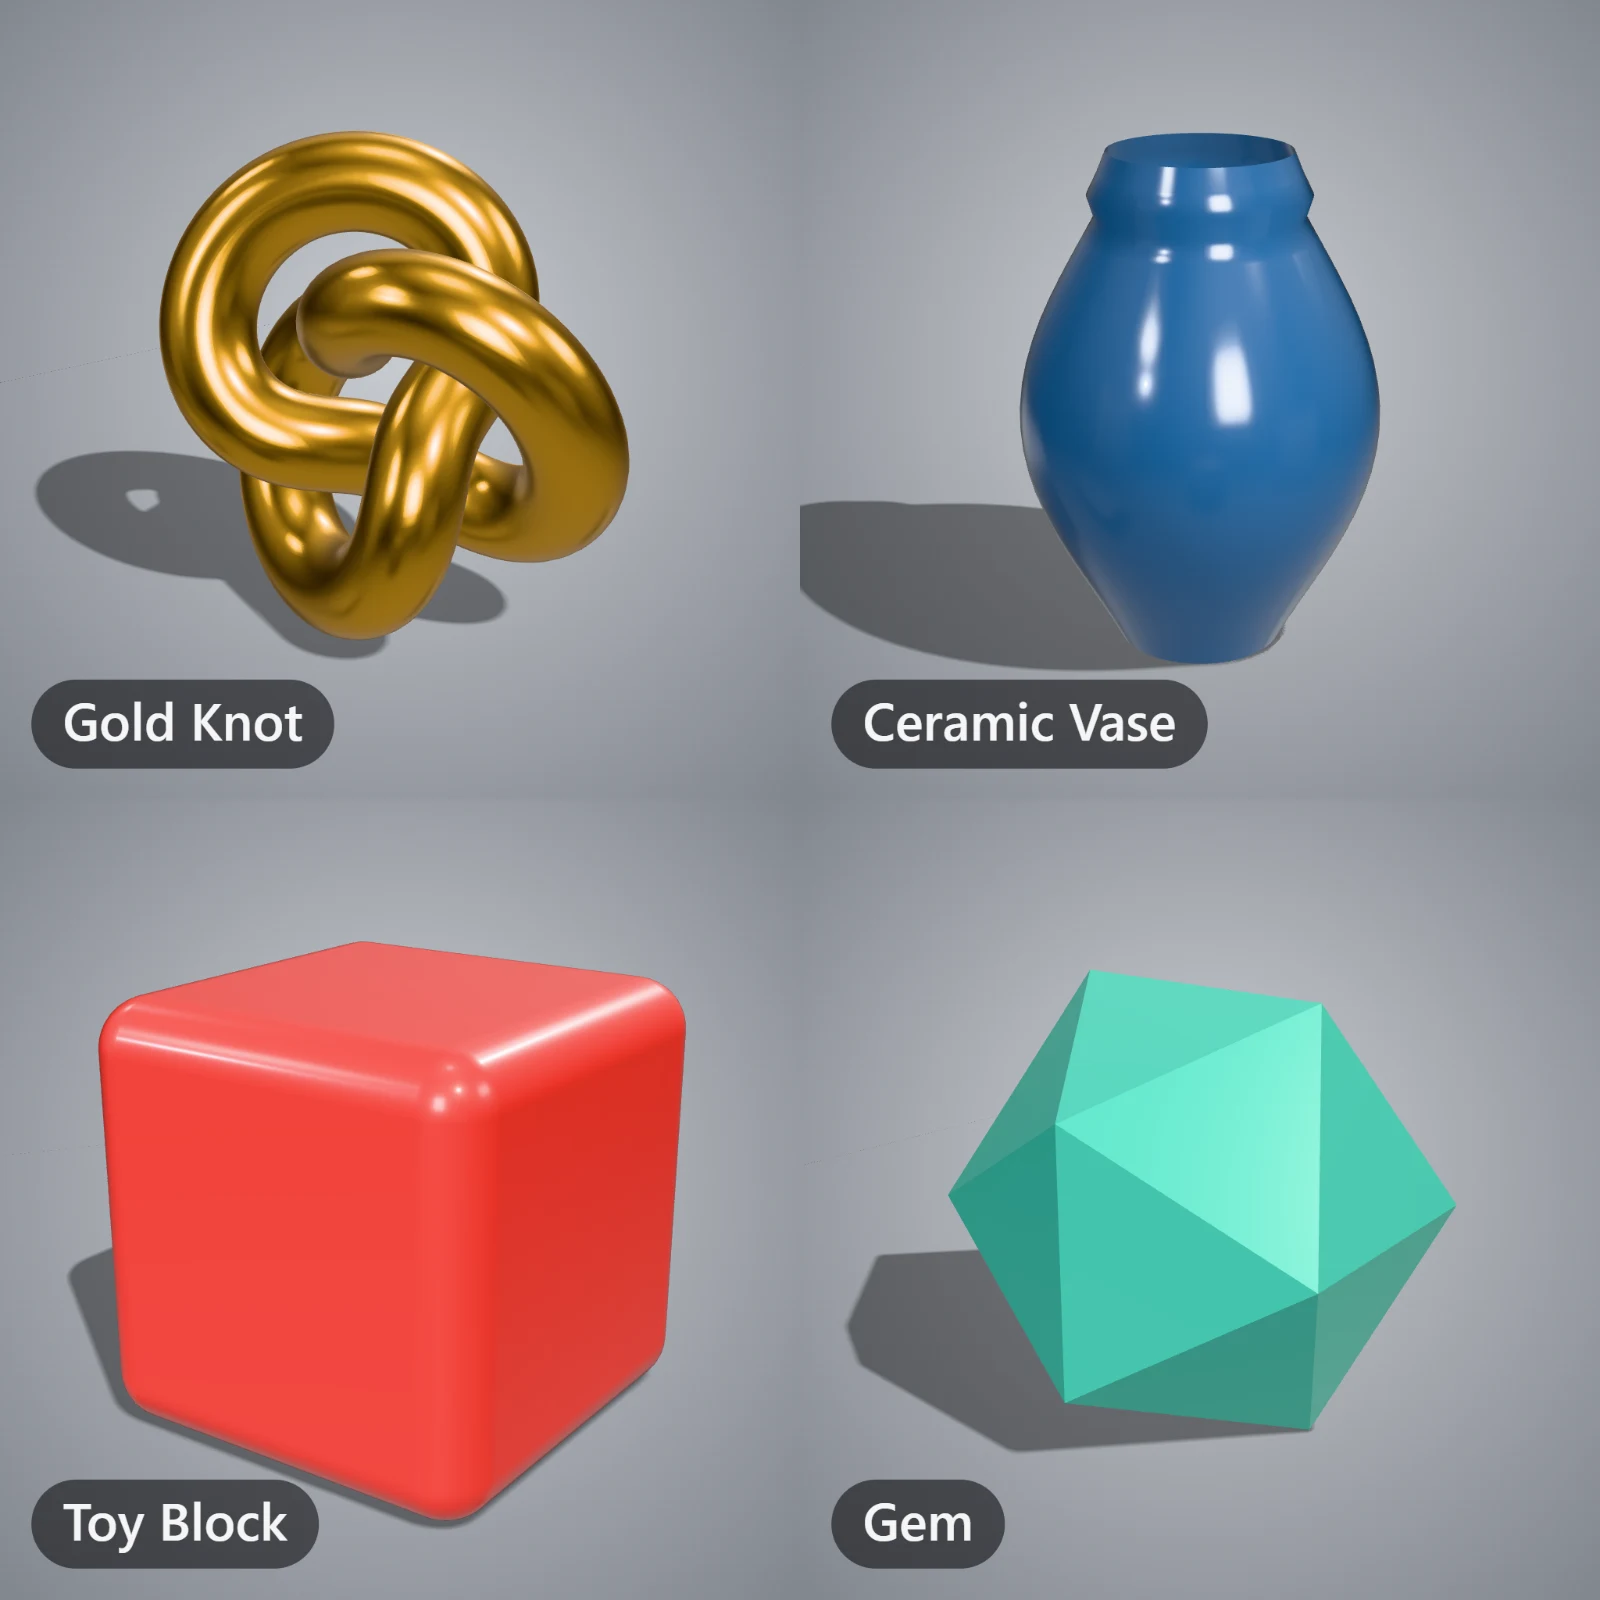 A real contact sheet export
Your scene is restored exactly as it was afterwards.
Tips
- Large packs: use a higher resolution so each cell stays sharp. At 4,096 px, a 30-model sheet has cells about 680 px wide.
- Sizes for marketplaces: a 16:9 or 3:2 aspect ratio fills most marketplace galleries. Use 1:1 for square previews.
- Name your files well: labels come from file names, so
Golden_Apple.glbgives a better label thanmesh_042.glb. You can also turn labels off. - Transparent cells: with the background set to None, the whole sheet is transparent, ready to place on your own design.
Which plans include it?
Every plan, for every visible model. The sheet's size follows your plan's image limit: up to 1,024 px with a small watermark on Free, 4,096 px on Pro and 8,192 px on Studio.
Frequently asked questions
How is this different from individual thumbnails?
Individual thumbnails gives you a separate PNG for each model, in a ZIP. A contact sheet puts them all into one image. Many sellers use both: the sheet as the first gallery image, then the individual images.
Can I change the order of the models?
The sheet follows the order of the Models list, which is the order you imported them in. Numbering your files (01_, 02_ and so on) keeps them in order, and the numbers are left out of the labels.
Can I mix angles in one sheet?
No. Every cell uses the current camera angle, which keeps the sheet consistent. Export one sheet per angle if you need more.