
Exporting a thumbnail: aspect ratio, resolution and file names
In short: open the Export tab, choose an Aspect ratio (Square 1:1, 4:3, 3:2, 16:9, 4:5 or 9:16) and a Resolution (long edge), and optionally set a File name prefix. The dashed export frame in the viewport shows exactly what will be captured. Then click Export → Thumbnail (or press Ctrl+E) to save a PNG of the current view.
The Image settings
Open the Export tab, the last tab in the inspector. The Image section holds the settings for PNG exports:
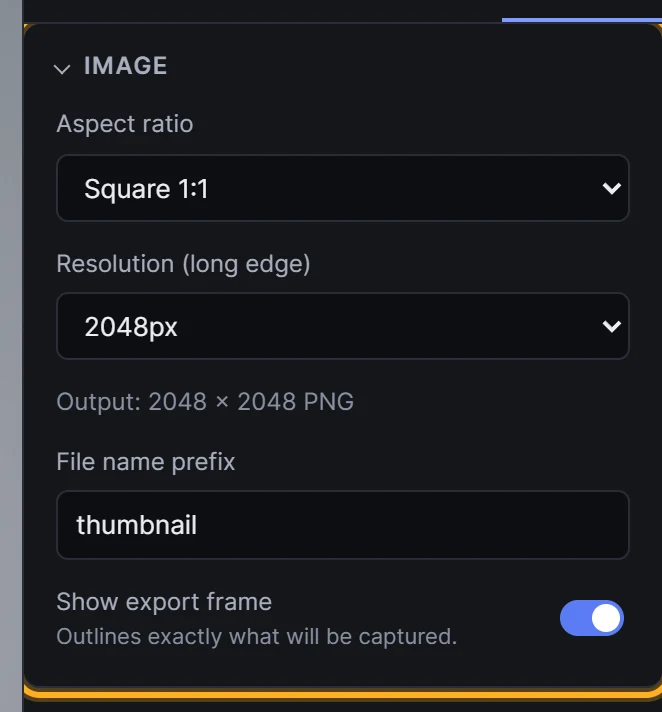 Image export settings
| Setting | What it does |
|---|---|
| Aspect ratio | The shape of the image (see below) |
| Resolution (long edge) | The length of the image's longest side: 512 to 8192 px. Sizes above your plan's limit are marked · upgrade |
| Output | The exact size you'll get, for example "2048 × 2048 PNG" |
| File name prefix | The start of the file name, thumbnail by default |
| Show export frame | Outlines the export area in the viewport |
Choose an aspect ratio
| Aspect ratio | Shape | Use it for |
|---|---|---|
| Square 1:1 | Square | Marketplace thumbnails, Instagram feed (the default) |
| Landscape 4:3 | Slightly wide | Gallery images, wide models |
| Landscape 3:2 | Wide | Photo-style gallery images |
| Widescreen 16:9 | Very wide | Banners, YouTube covers, website headers |
| Portrait 4:5 | Slightly tall | Instagram and Facebook feed posts |
| Story 9:16 | Tall | Stories, Reels, TikTok and Shorts covers |
When you change the aspect ratio, the dashed export frame in the viewport changes to match. Here's Widescreen 16:9:
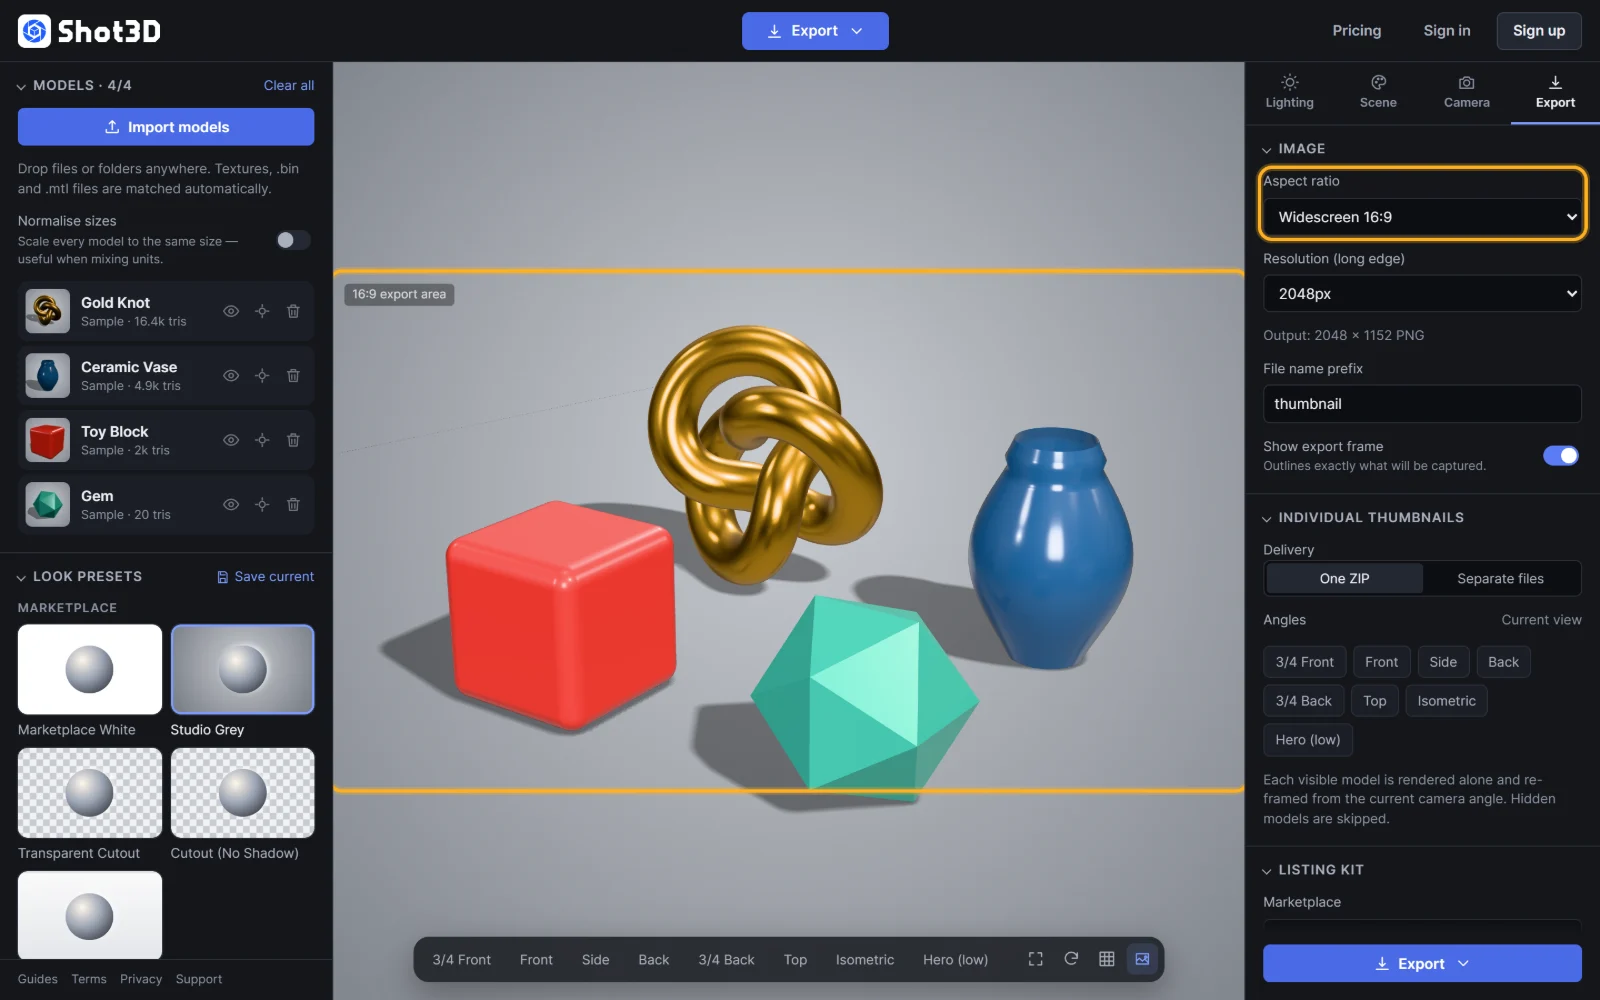 A 16:9 export frame
And Portrait 4:5:
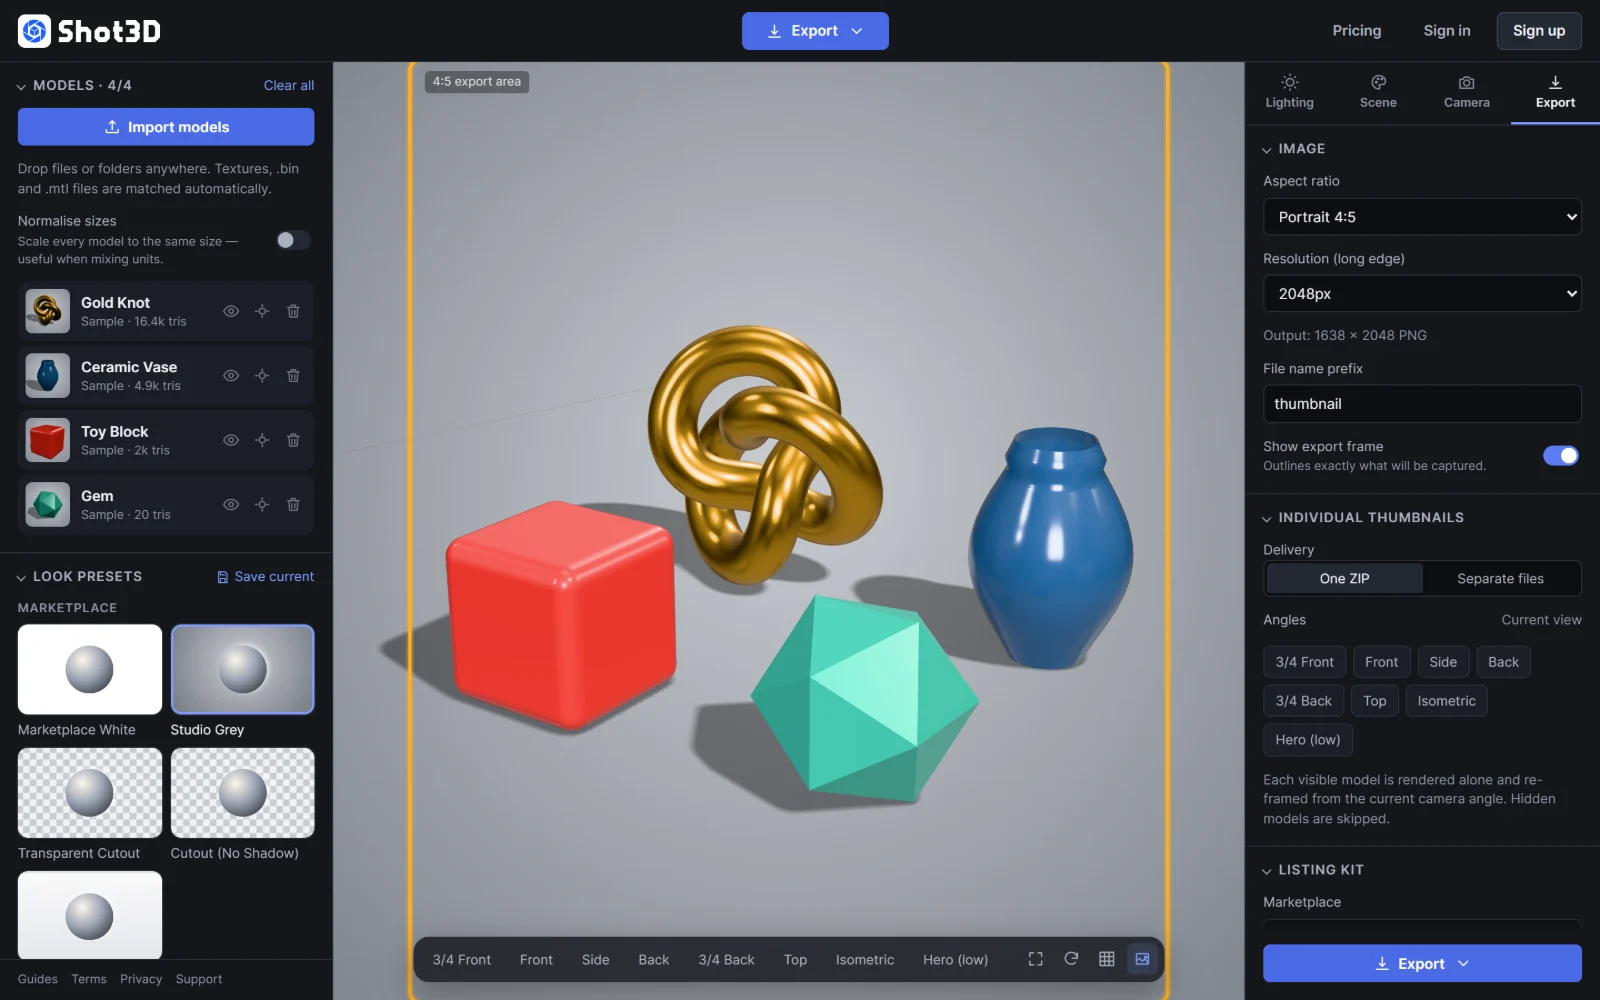 A 4:5 export frame
Everything inside the frame is exported. Everything outside it is cropped off. Press F after changing the aspect ratio to re-frame your models for the new shape.
You can switch the frame on and off with Show export frame in the Export tab, or the image icon at the right of the viewport toolbar. It's only a guide and never appears in your images.
Choose a resolution
Higher resolutions give sharper images and let marketplaces create their own smaller versions cleanly. A 2048 px square is a good default for listings.
| Plan | Largest PNG |
|---|---|
| Free | 1024 px, with a small Shot3D watermark |
| Pro | 4096 px, no watermark |
| Studio | 8192 px, no watermark |
If you choose a size above your plan's limit, the image is exported at your plan's maximum instead. The Output line always shows the size you'll actually get.
Name your files
Exported thumbnails are named with your File name prefix followed by the date and time, for example chair-collection-20261103-1430.png. Spaces and special characters are tidied into hyphens automatically.
Export
When everything looks right, click Export in the top bar and choose Thumbnail, or press Ctrl+E (Cmd+E on a Mac):
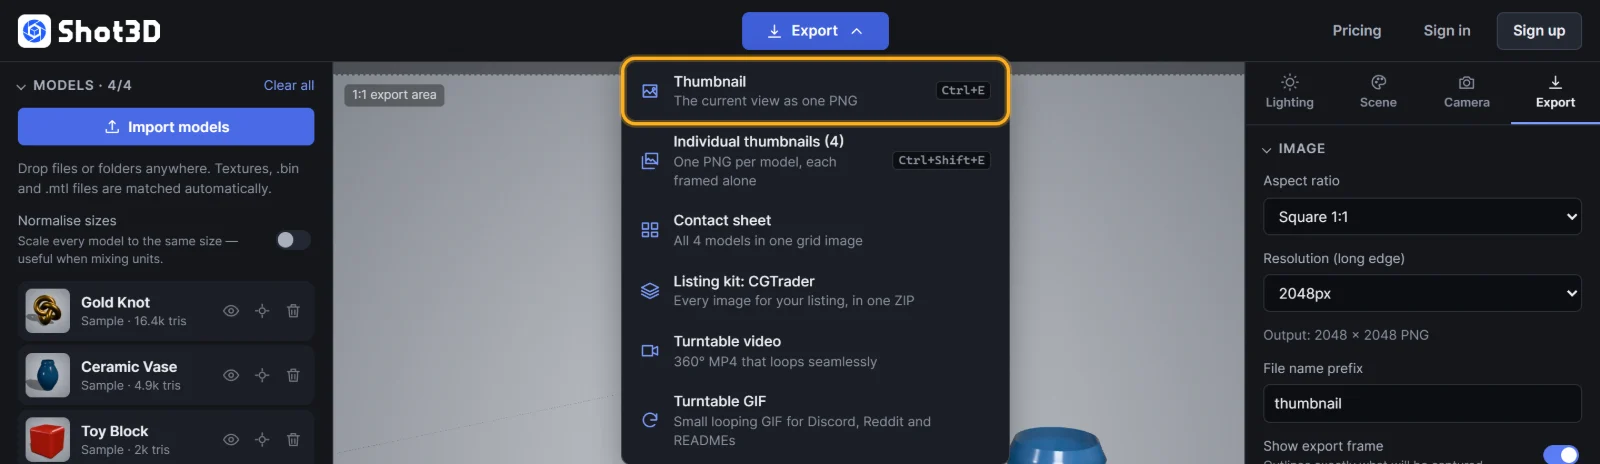 Export → Thumbnail
Shot3D renders the view at full resolution and your browser downloads the PNG. Everything visible goes into one image, which makes it ideal for hero shots and group shots of a whole pack. For a separate image of each model, see exporting individual thumbnails; for every model laid out in a grid, see exporting a contact sheet.
Frequently asked questions
Why is my export smaller than the resolution I chose?
Your plan has a maximum size (1024 px on Free, 4096 px on Pro, 8192 px on Studio), and larger choices are capped to it. The Output line shows the real size.
How do I remove the watermark?
Free-plan exports include a small Shot3D watermark. Pro and Studio exports don't. See plans and billing.
Why are the edges of my scene cut off?
Only the area inside the export frame is captured. Turn on Show export frame to see it, and press F to re-frame for the current aspect ratio.